
Beginners guide
One film, from naming a project to saving your subtitle file and a copy of your project, for someone who has never opened STORII. Every picture is the real app; every step says what you do and what you should see.
What works today
You can name a project, bring in a script and lock it as canon, add your cast and locations, plan the camera shot by shot, read the table, edit, delete or restore scenes, and get a scene package to READY with a cost estimate. You can see the Spend gate, and you can save a subtitle file (.srt) and a copy of your project to your own device.
Generation, Review, Cut (with your own clips, the story and the score under the strip), Finish and Deliver are built. Edit Studio lets you draw, soften and erase a mask and build an edit list, but the repairs are not rendered into the picture yet. Generation waits on the Spend gate, where you type GO, so on a new project you will see their empty states. Not connected yet: music generation, PDF script reading and the storyboard sheet. The Cut, Score and subtitles, Finish and Deliver steps show what each later screen says before a take exists. The files you can save before any generation are the subtitle file in the Score and subtitles step and the project copy in the Deliver step.
Sign in with an email link
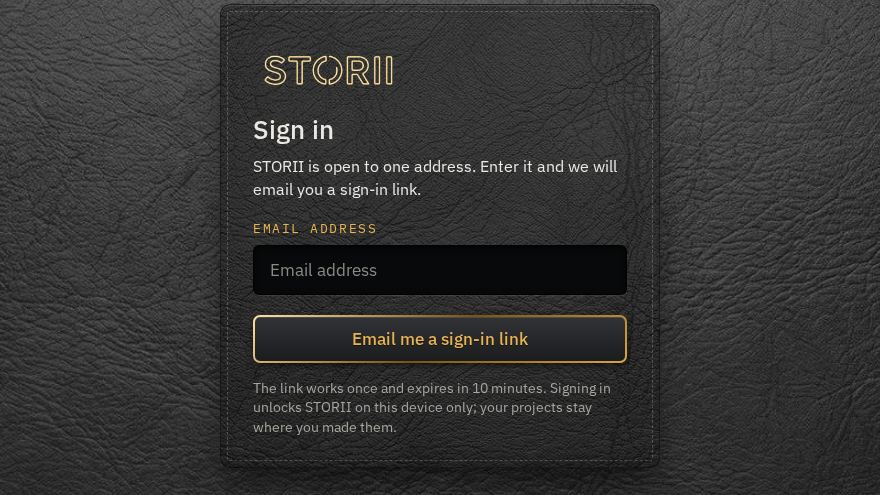
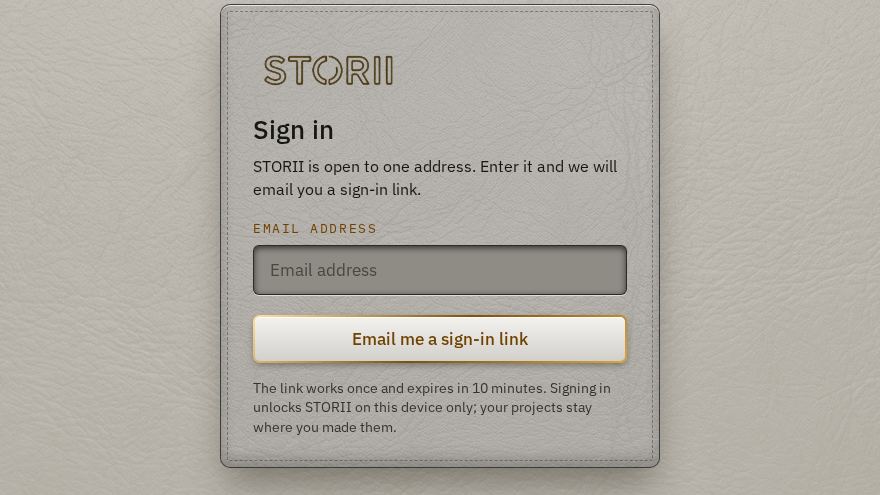
STORII has no password. Open the STORII address, type the email address STORII is open to, and press Email me a sign-in link.
 12
- 1Type your email address here.
- 2Press this. An email with your sign-in link arrives within a minute or two.
Open the email on the device where you want to use STORII and press the link. It works once and expires in 10 minutes. If it has expired or was already used, ask for a new one on the same page.
If the page says This address does not have access to STORII, the address you typed is not the one STORII is open to. Check it for typos and try again.
You stay signed in on that device for 7 days, or until you sign out in Settings. Signing in controls who can open STORII. It does not move your projects anywhere.
Name your project
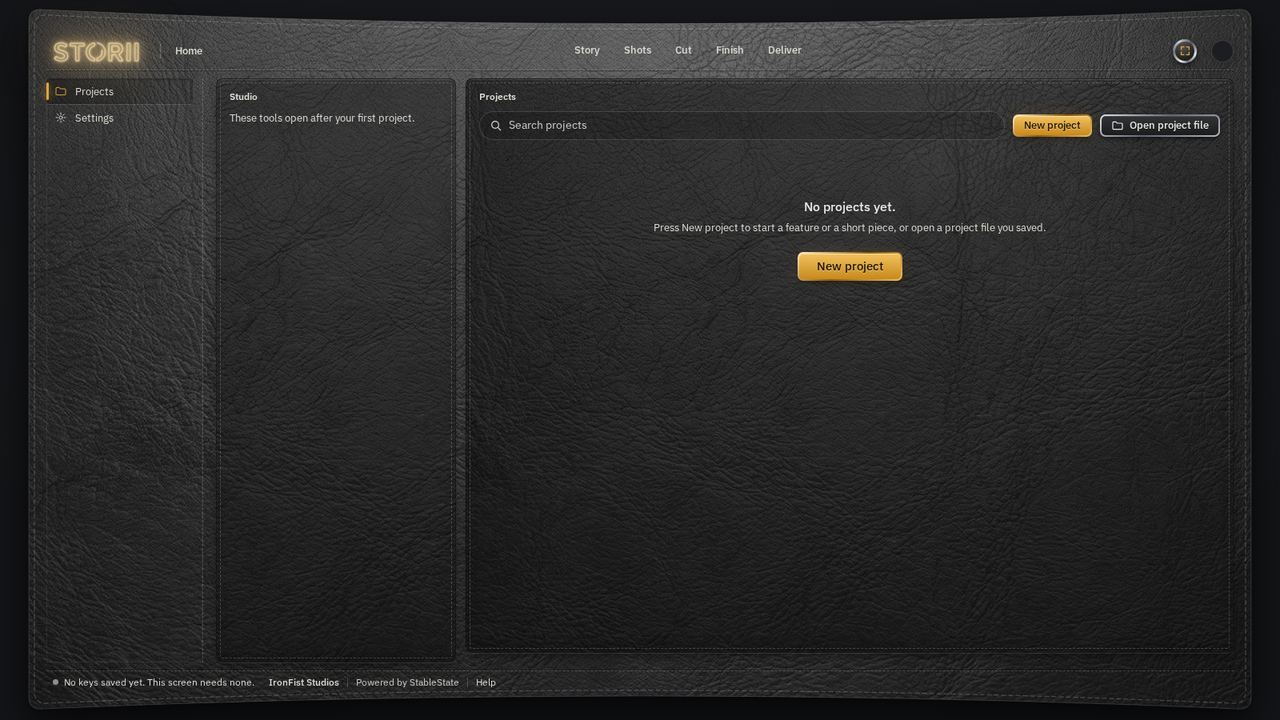
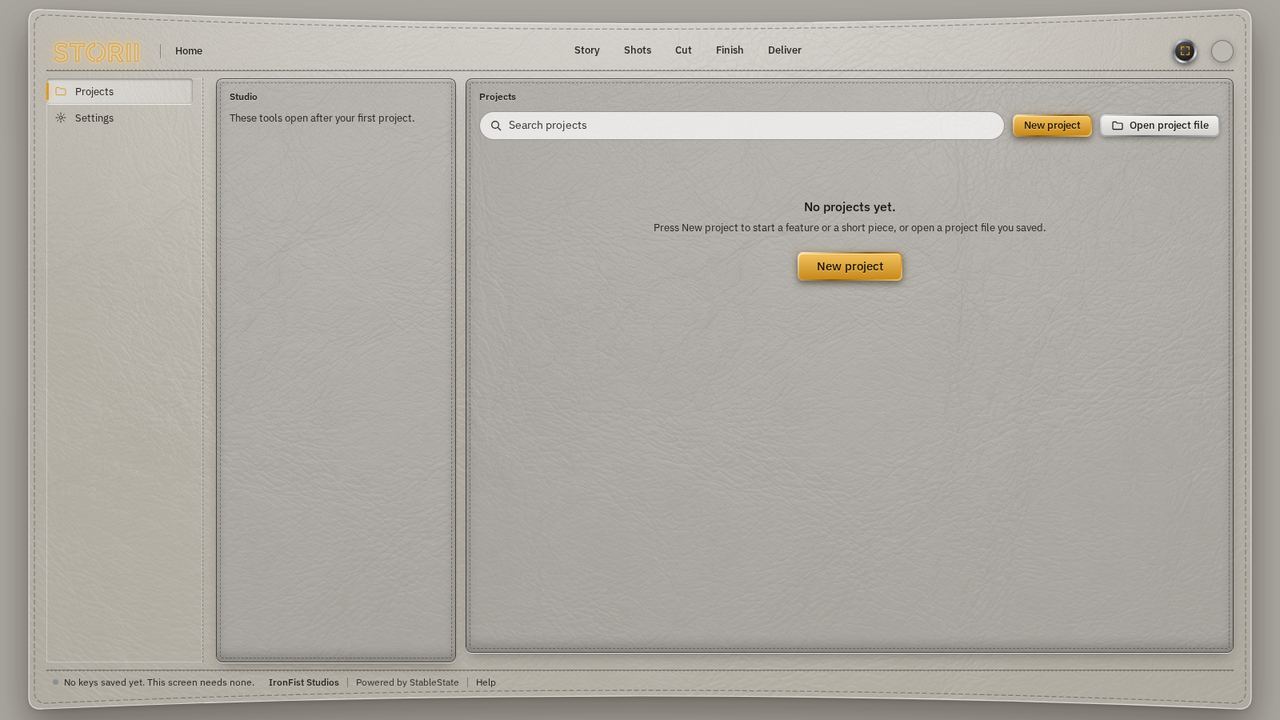
After sign-in you land on Projects. Press New project. A new account starts with no projects: the list reads No projects yet. and a balance chip appears in the corner only once STORII can read your video service balance. This guide follows a made-up project called Harbor Light that was typed in for the pictures. Nothing like it is in your account.
The Captions row chooses how wide a caption may run: Survive a vertical crop (the default) keeps every caption inside the centred band of a 16:9 frame so a vertical repost never clips it; Wide 16:9 lets it use more of the width.
The Spend cap row on the same form is the one money setting STORII has, and it belongs to this project: set the most you are willing to spend on it, in dollars. You can change it later under Project settings. A project with no cap cannot generate anything, and the assistant writes the script to fit the cap, so set it before you draft.
The Feel row, beside Look, sets how the whole film cuts and moves: pick one from the list (Classical coverage, Rapid-cut action, Kinetic tracking, Nonlinear tension, Slow-burn drama, Long-take follow, Epic wide, Handheld witness) or Custom and write your own in six short fields. The line under the list says what the chosen feel does. Every scene follows it: the camera plan drafts its action beats, movement and sizes from it, the prompt sent to the video service states the cut plan in its words, and the score brief reads its pace. A single scene can take another feel on the Shots page. No filmmaker is named anywhere; each feel is described by what it does.
 1
- 1New project starts a blank project.
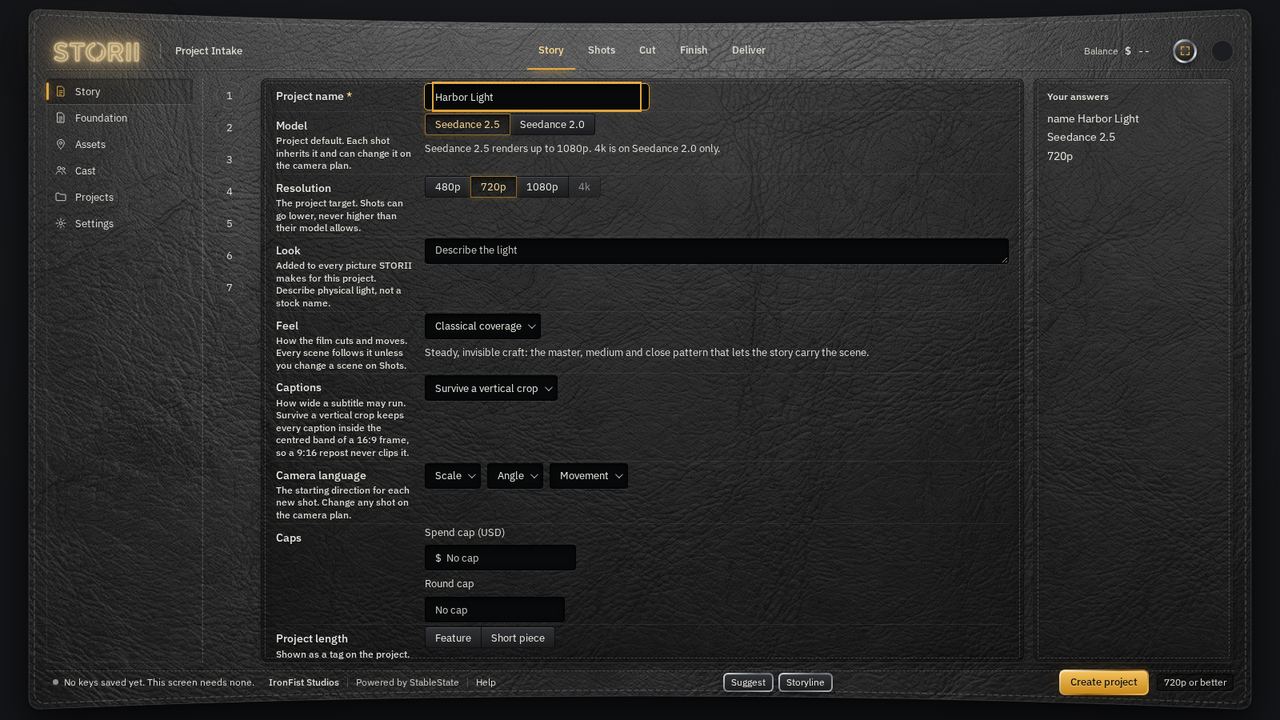
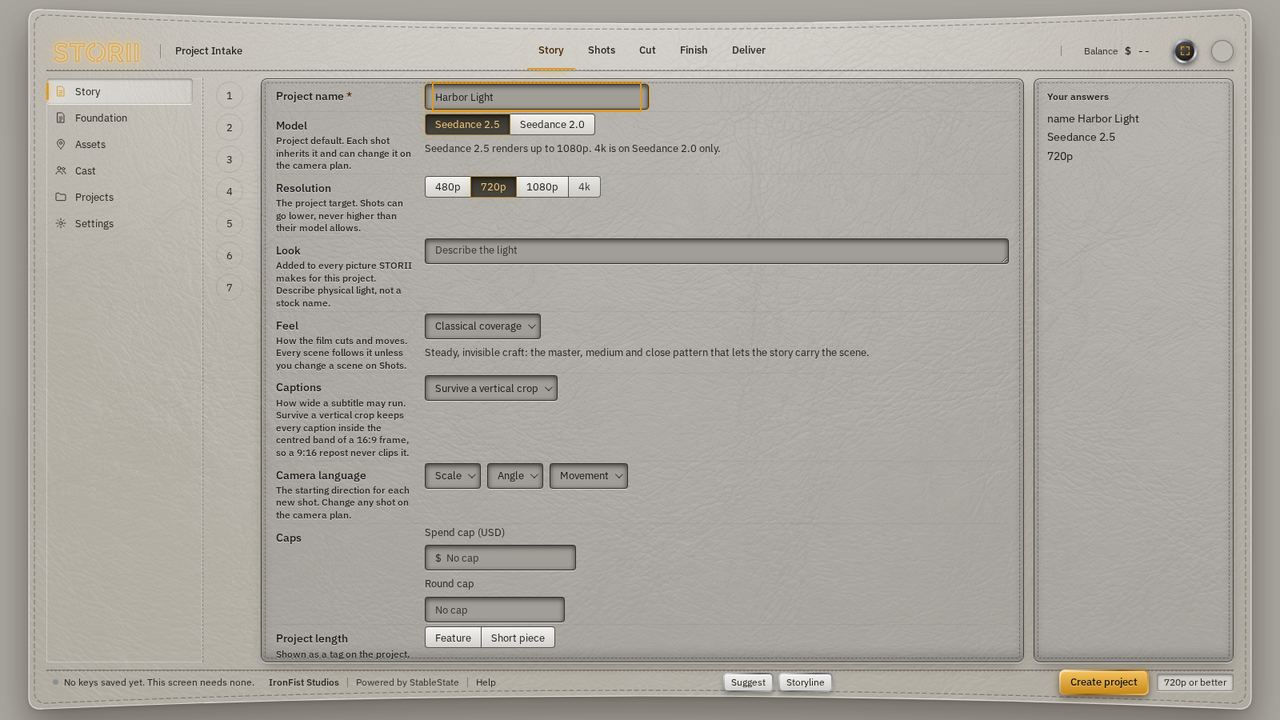 1234
- 1Type a name. It is required, and it names the file you save at the end.
- 2Optional: describe the look in plain words. STORII adds it to every picture it makes for this project.
- 3Feel: how the whole film cuts and moves, chosen from a list named by what each one does, or Custom. The line under it says what the chosen feel does.
- 4Create project. Your project is saved on this device from here on.
The form asks six things: the name, the model, the resolution, the look, the starting camera direction and whether the film is a feature or a short piece. Only the name is required. The defaults are fine to start. STORII does not generate below 720p unless cost forces it, and it says so when it does.
Each answer is used. The model and resolution set what estimates assume, the look is added to every picture STORII makes for the project, the camera direction is the starting direction for each new shot on the camera plan, and the length is the tag on the project.
To change any of them later, press Settings on the project card on the Projects screen. The saved bar at the bottom and Manage projects offer the same button. The name stays fixed because clips and audio are filed under it. Press Save changes when done. Takes you already made are kept.
From here a film is five pages, and they sit across the top of every screen: Story, Shots, Cut, Finish and Deliver. Press one to go to it. The menu on the left lists the sections of the page you are on, with Projects and Settings always at the bottom.
Story: your script, the people and the places
The Story page opens next. Paste your script into the box, or press Add a file to bring one in. Fountain, docx, txt and md files work, as long as the scenes have headings such as INT. LIGHTHOUSE - NIGHT or Scene 1. A spoken line is read after its speaker: a name in capitals on its own line, NAME: and the line, or, in a story written as prose, a quoted line with the name near it, as in Mara said, "Open it." A PDF is not connected yet in this build. Press Read the script. STORII lists the scenes it found, and makes a card for every person who speaks and every place in a heading. If a name among the people is a title, a sign or a chapter name, pick its card: This item says it was read from a name line in the script and offers Not a person; press it and its lines go back into the scene as action (the script line then starts with !, which is how a screenplay marks a line that is never a name). Foundation lists the same names under its status line with the same button. A line that starts with = is a note on the scene: = Purpose: what changes in it, = Opens on: its first image, = Ends on: its last image. The drafted script writes these three under every heading, and every take of the scene carries them to the video service so the scene plays as part of one story. Notes are never filmed, counted or spoken.
The Production pack block at the top of the Story page is the other way in, and the one that holds a story together. The pack is the whole film written by one director in one pass: the promise, the beats, a segment list with a join at every break (opening, angle change, same angle, bridge or scene cut), the references, the cast with wardrobe in full, each place's geometry, the props, the look, and segment 1 in the full scene skeleton, with its radio play as a timeline and its own match check. With a storyline in the Storyline box, press Write the pack from the storyline: the assistant panel opens on Write the production pack with the cost shown first; read the pack, edit it, then press Use this. STORII reads the pack and writes everything else from it: the script (one scene per segment, with the three notes under each heading), one shot per segment on the camera plan, a person card for each name the segment list puts in frame (counted in the scenes it puts them in, so a principal the action never names still has a card; a prop or place listed there, or a trailing alone, is not a person), the look, the wardrobe and place blocks as the notes for each card, and a prop card for each line of the PROPS block with its placement as the notes. A written segment's own text is the prompt the video service receives, with STORII's reference pictures and voices in place of the writer's tags. Only segment 1 is written up front. Between segments the landed last frame of the segment before is the room: on an angle change it goes as the one room reference in place of the place picture, with the instruction to keep the layout, the surfaces and the scale and not the framing; on same angle and bridge it is also the first frame; a scene cut back to a place already shot takes that place's latest kept frame; the place picture goes only with the first segment of a place. When its take lands, its card reads Landed and shows the last frame STORII kept: write the Boundary inventory under it (every hand, held object, position and prop, in words), then press Draft segment 2. The panel opens with the whole pack and what the segment must do; press Ask STORII, read it, and Use this. Each card has Save segment for your own edits, the Master blocks fold holds the header, and Copy pack, Save pack as text file and Remove pack sit under the list. A pack you wrote elsewhere goes in through Paste a pack. The match check under the segments names anything mechanical that is off: a block that is not pasted word for word, a radio play that does not run the segment's length, an undeclared reference, a principal who is in frame in the written segments and never speaks. A pack with no spoken line in any written segment is listed under Needs a look; STORII never adds a line and never blocks on one: a silent film and a forced line are both yours to decide. The timelines in AUDIO and RADIO PLAY are read one entry per line, or one per semicolon when a writer runs them together, with speaker names in capitals or not; header labels are read in any case, a segment whose sections run together on one line is still read, REFERENCES and PROPS run together are cut apart, and a radio play whose numbers are start times rather than lengths is read against its TOTAL and SPOKEN. Whether the story is good is yours to judge from the pack itself. If a pack cannot be used, the notice begins Not used yet and names the first thing to fix; a count that does not add up, or a missing title, does not stop the pack and is listed under the segments on the match check instead.
Your Feel and your camera plans reach a pack film too. The director is handed the project's Feel with the pack ask and with every segment ask, so the look and each segment's camera are written to it; a segment ask also carries the camera plan you edited for that segment. When a take is sent, a camera plan you edited opens the take's camera section and wins over the segment's own camera sentence, and a chosen Feel opens its look block.
Pick a card. This item on the right shows what it still needs: a picture, and for a person a voice. Press Make or add media at the bottom right to make a picture with your image key or add one from this device, and choose a Voice from the list. Write The look of the film in one line; it goes into every shot. When a card has what it needs, press Lock so its look holds in every scene; with nothing picked, Lock says so. A voice locked on Cast holds the voice, and the card reads Locked on Story once it has a picture too. The line under the cards says what is still missing. Press Next: Shots when the people and places are ready.
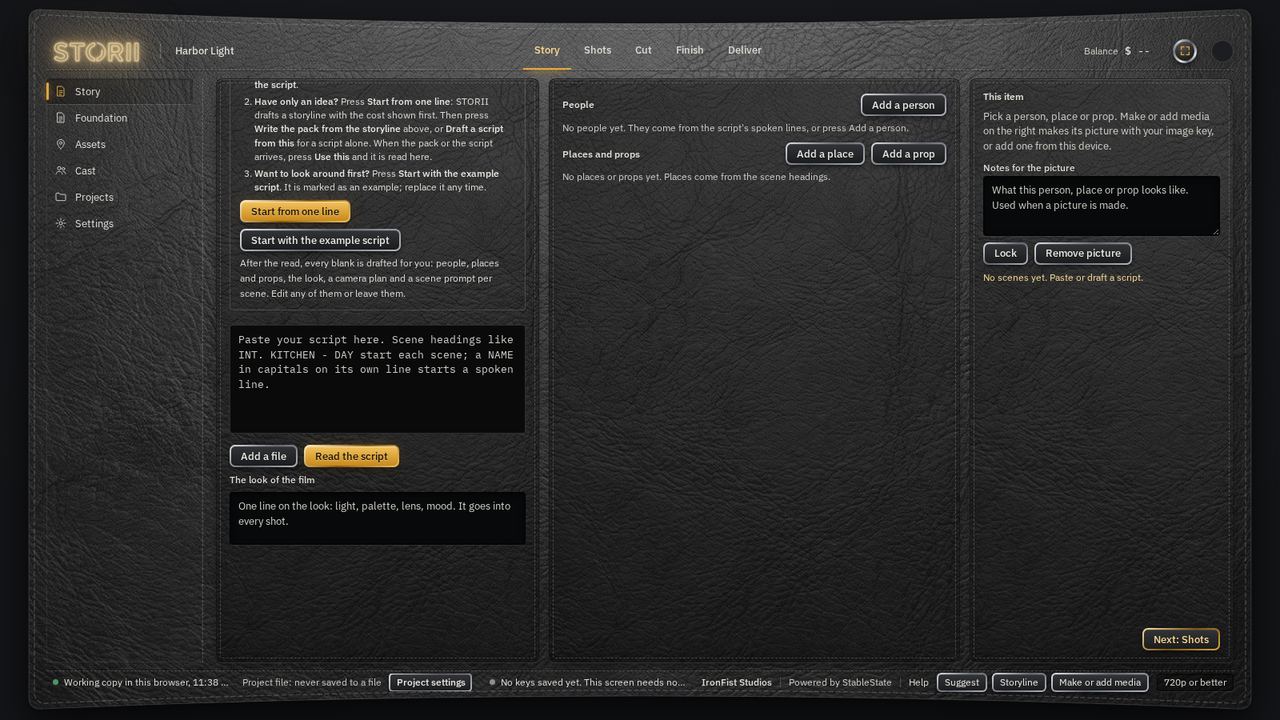
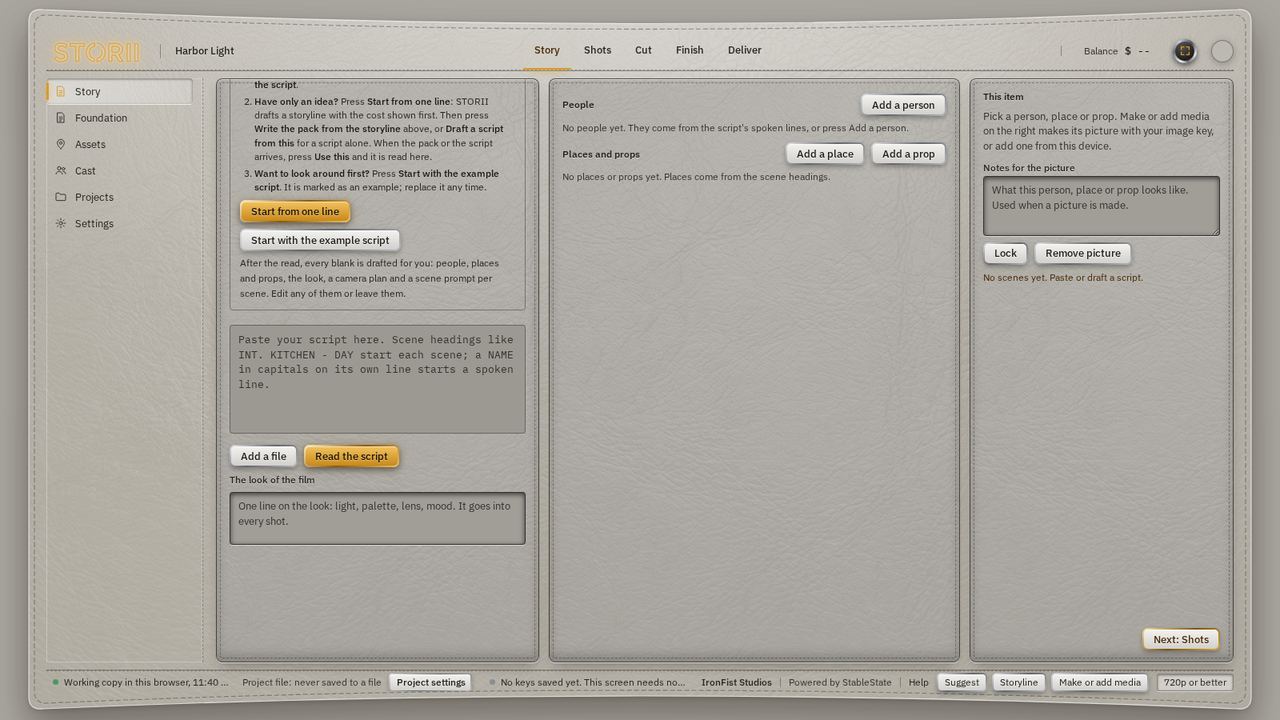 1234
- 1Write the pack from the storyline: the whole film in one director's pass, with the cost shown first.
- 2Paste your script here, or press Add a file.
- 3Read the script lists the scenes and makes a card for each person and place.
- 4One line on the look of the film. It goes into every shot.
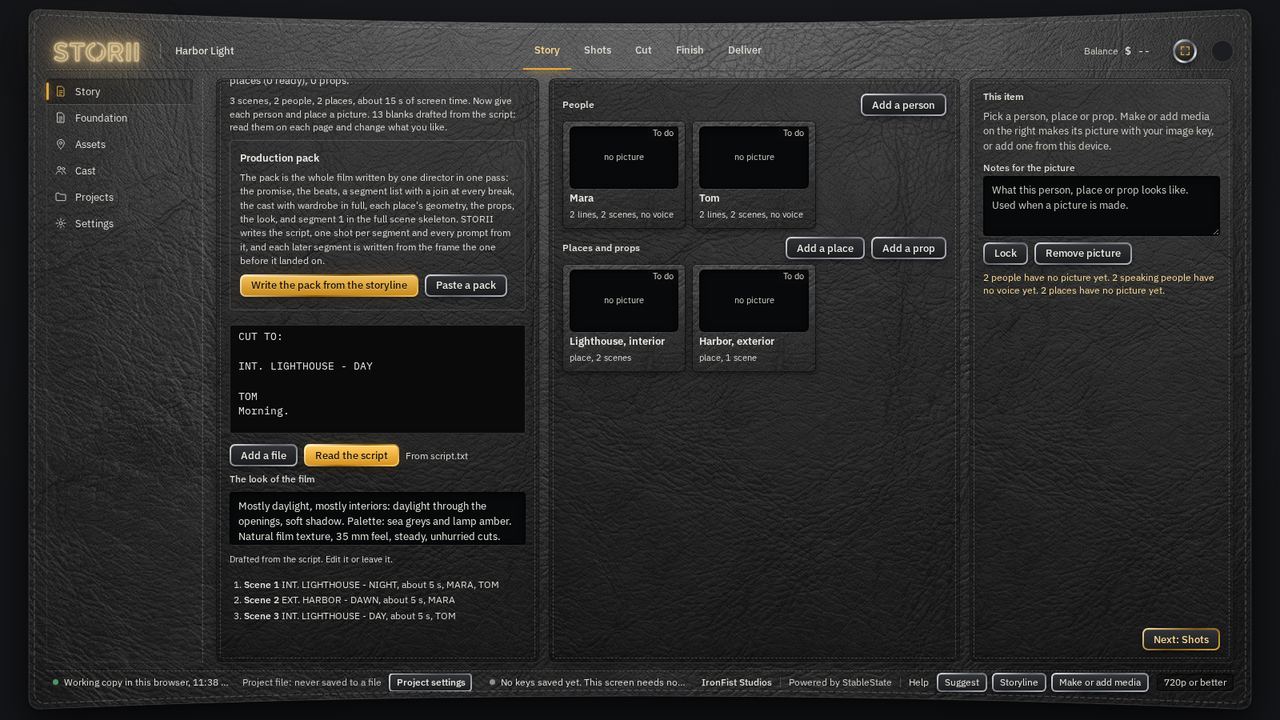
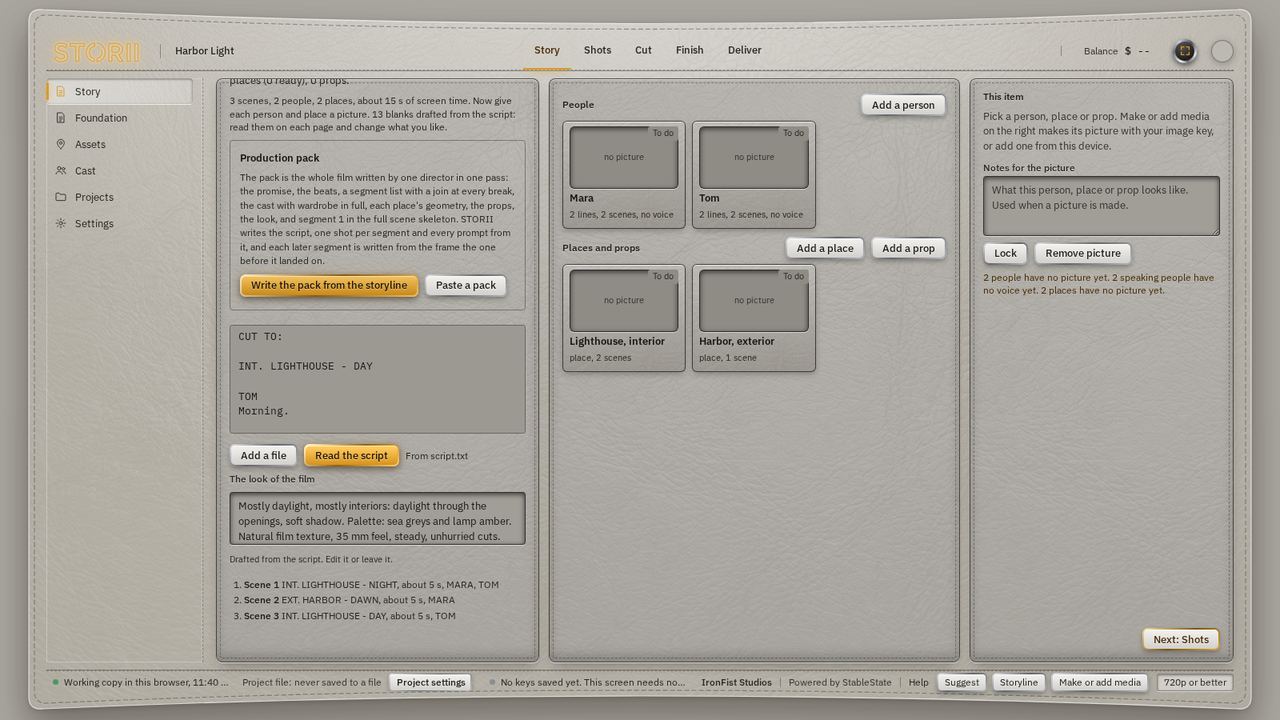 12345
- 1The scenes STORII found, with their length and who speaks.
- 2One card per person who speaks. A card reads Ready once it has a picture and a voice.
- 3One card per place, from the scene headings.
- 4Lock holds the look of the selected card in every scene.
- 5Next: Shots when the people and places are ready.
The finer tools sit on the left menu under Story. Foundation keeps the script itself: press a scene's row to select it, Edit scene to change its text, Delete scene to remove it (STORII asks first), or Edit script to change the whole text, and Lock script to record which version the project is built on. Assets is the asset library with Characters, Locations and Props tabs, the anchor image for each, Rename, and Library to see the whole project at once. Cast holds the photos and voices, with Add cast member for someone who is not in the script and Remove cast member for someone who should not be in the film (STORII asks first; a locked voice is unlocked first). Remove asset on a person card in Assets removes them from the cast too. A person who came from a script or a pack and is no longer in it drops out when the script is read again, unless you gave them a picture, a voice, notes or a lock of your own; a voice or notes STORII drafted do not hold them. A person you removed stays removed when the script is read again, until you add them by hand; a card in the trash is not made again until you restore it. The Story page and these three write to the same place, so a picture added on Cast shows on Story, and a card locked on Story is locked on Cast.
Hearing a voice sample is a paid voice call, so STORII asks before it makes one. Press Make or add media with a person selected, read the price, and confirm. It uses your own voice service key, and once made the sample is loaded onto the play buttons under Sample on the Cast panel. If you press one of those play buttons before a sample exists, STORII opens Make or add media at the sample step for you; nothing is sent until you confirm the price. A voice ID you added works the same way. Choosing a voice from the list needs no sample. A sample you made stays with the character on this device. Locking the voice does not remove it: press the play button and it plays, with no new call and no charge. If a locked voice has no sample kept, STORII says so and sends nothing.
A person does not need lines to be in a scene. A bystander, a guard or a crowd member can be added with Add cast member. Select the person on Story and, under Where they appear, tick the scenes they stand in. To put them in the script itself, choose the scene, write what they are doing (or leave it to read "stands nearby, watching.") and press Add to script: STORII adds one line of action under that scene heading, and the person is then counted in the scene on Story, Assets, Cast and the scene package. A person whose name already appears in a scene's action text is counted there without ticking anything. Ticked scenes also tell the video service how many people are in frame.
To give a character a voice you already have, use Add a voice ID on the Cast screen, or in Make or add media under Use a voice ID: type a name and paste the voice ID from your voice service, then press Save and use for this character. The voice is kept on this device, appears in every voice list as (saved), and is chosen for the character at once. To use a recording instead, press Add a recording on the Cast screen, or pick the file in Make or add media and press the button that reads Use this as followed by the character's name and voice. The recording stays on this device with the character and goes with the video take as the voice to match. STORII does not clone the voice, and a video model may only follow it loosely, so listen to the take. A character with only a recording still needs a voice from the list or a saved voice for the radio play.
Every blank starts filled
When STORII reads your script, it fills every blank it can from the script alone, at no cost: a first Notes for the picture line for each person, place and prop (where they are seen, how they are dressed, and what they are seen doing, written as a plain visual clause, never a quoted line from the script, because the image service reads a quoted line as words to draw), a first line for The look of the film, and a first camera plan for every scene (an establishing wide, a shot for each action beat, a close or medium for each spoken turn, with the line and who they look at), fitted to the scene's own seconds so a script that fits your cap plans a film that fits it too. Each one carries a small note, Drafted from the script. Edit it or leave it. The moment you change the text or a shot, the note goes and the words are yours. A re-read of the script refreshes the drafts you have not touched and never touches your own words.
Two more blanks fill the same way: the Scene package prompt of every scene with a camera plan is built from its shots, so the Table read board never reads Not built yet for a planned scene; and on Score, the music text in Make or add media opens with a brief from the scene: its place and time, its pace, and how low it sits under the voices. With no script at all, Story offers Start with the example script, a short built-in example marked as one in its title, and Start from one line, which opens the assistant on a storyline with the cost shown first.
For better drafts in one go, press Suggest with STORII on Story, Assets or Cast and choose Draft every blank on this page. The list of blanks, with what the script says about each, is filled in for you; your assistant key pays, and no cost is shown; the cap in Project settings governs the project. Press Use this and every draft lands in its place, marked Drafted by STORII until you edit it. Items you have written yourself are never offered.
The script stays the source after that. Read it again with changes, or save a scene on Foundation, and the change runs downstream: camera plans, scene packages, table read rows and scene ties follow their scenes when scenes are added, removed or moved; drafts you have not touched are written again from the new text; and anything you wrote yourself, or had drafted by STORII, that sits under a changed scene is kept and marked The script changed under this, with Keep mine and Redraft from script beside it. The list under the scenes on Story says what changed on the last read. When a scene has already been generated, scenes keep their numbers and the list says so.
Get a suggestion and keep it
Press Suggest with STORII on a page that has text to fill, such as Story. Choose what the assistant should write, add your notes, and press Ask STORII. Your assistant key pays; no cost is shown inside the project.
On Camera plan, choose Suggest a shot or Suggest a dialogue line, check the Scene number, and press Import this scene from your script. The scene is copied from your script into Your notes, where you can edit it before you ask. The scene you opened is filled in for you. A dialogue line goes into Dialogue line when you press Use this.
When the answer arrives, press Use this to put it where it belongs. A drafted script is read on Story or loaded into Foundation, whichever is open; from any other page it is kept with the project and read when Story next opens, so it is never lost. A storyline goes into the Storyline box. On Story and Foundation it sits in a card above the script, and the Storyline button near the bottom right opens the same box. A script goes into the script, and a scene goes into the scene you chose. Press Copy to put the text on your clipboard, or Save as text file to keep it as a file in your downloads.
From the Storyline card press Open storyline to edit the text, or press Draft a script from this. From the Storyline box you can edit the text, copy it, save it, clear it, or press Draft a script from this. In Make or add media, a picture can follow reference pictures you attach with Add reference pictures (or paste into the Direction box), the way you would give an image maker a face, a costume or a place to match. Pictures and voice samples made there have Use this picture and Save a copy to this device. Music has the same two choices.
Shots: direct and generate
The Shots page lists every scene with its shots as cards: the length, the resolution, the line spoken in it, and a Generate button. Generate scene sends a whole scene and Generate all the whole film. There is no price on the button and nothing to type: the cap you set in Project settings governs the whole project, and a batch goes to the video service the moment you press, unless it would carry the project past that cap. Pick a card to see This shot on the right: your prompt for the scene in a box you can edit, From shots to build it again from the camera plan, and below it the prompt exactly as it goes to the video service with the pictures and voice that go with it. What you type there is what is sent, and a note appears if the shots changed after the prompt was built. The prompt follows the order the video service documents: for each beat the person and one action first, then the camera; a line that a voice reference carries is not repeated in words (the beat says who speaks and listens, and the audio gives the words), while a line with no voice reference stays in quotes; the audio section opens with SFX and the constraints end with NO-IP, no brands, logos, readable text or recognisable songs. When the first shot of a take has a key frame, it goes first as reference 1, the opening frame. When it has none, and the take follows another in the same scene, or opens a scene that continues in the same place and moment, the last frame of the take before it goes first instead, and the take waits for that one to land before it is sent; the queue says so while it does. Between the scene context and the format, every prompt carries a STORY block: the story so far, this scene's purpose and its first and last images from the script's note lines, and what the take before ended on.
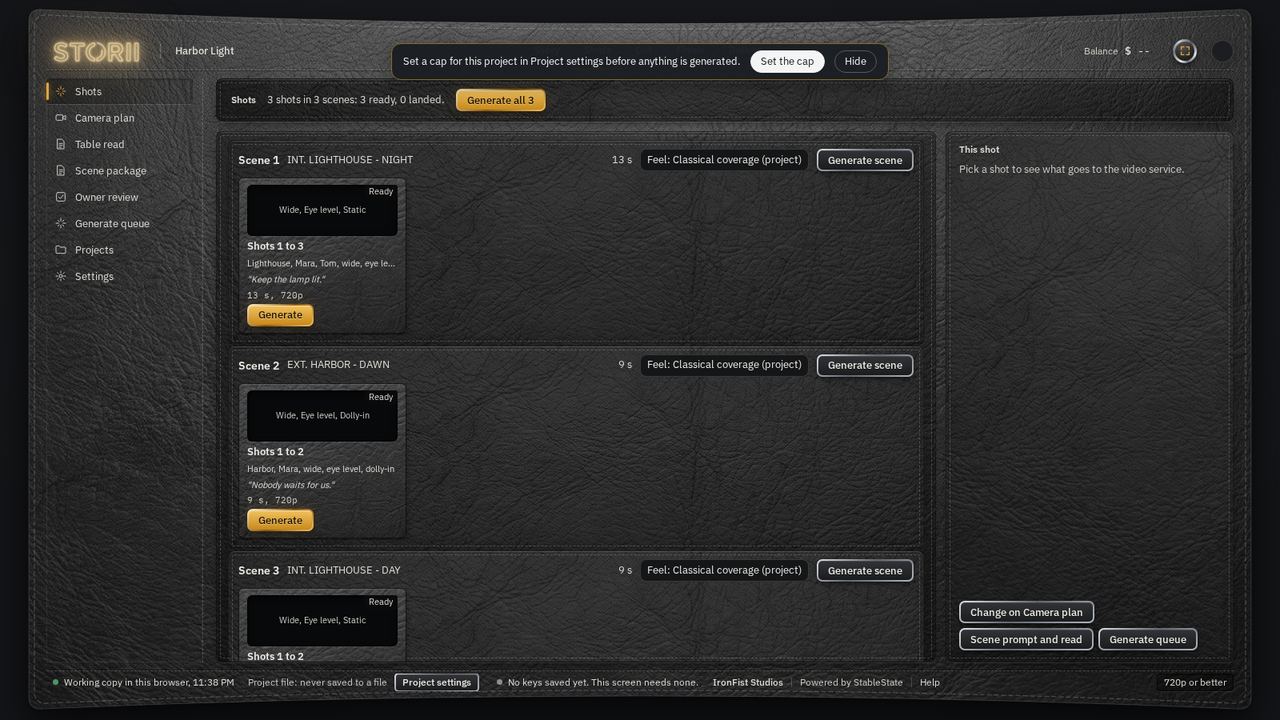
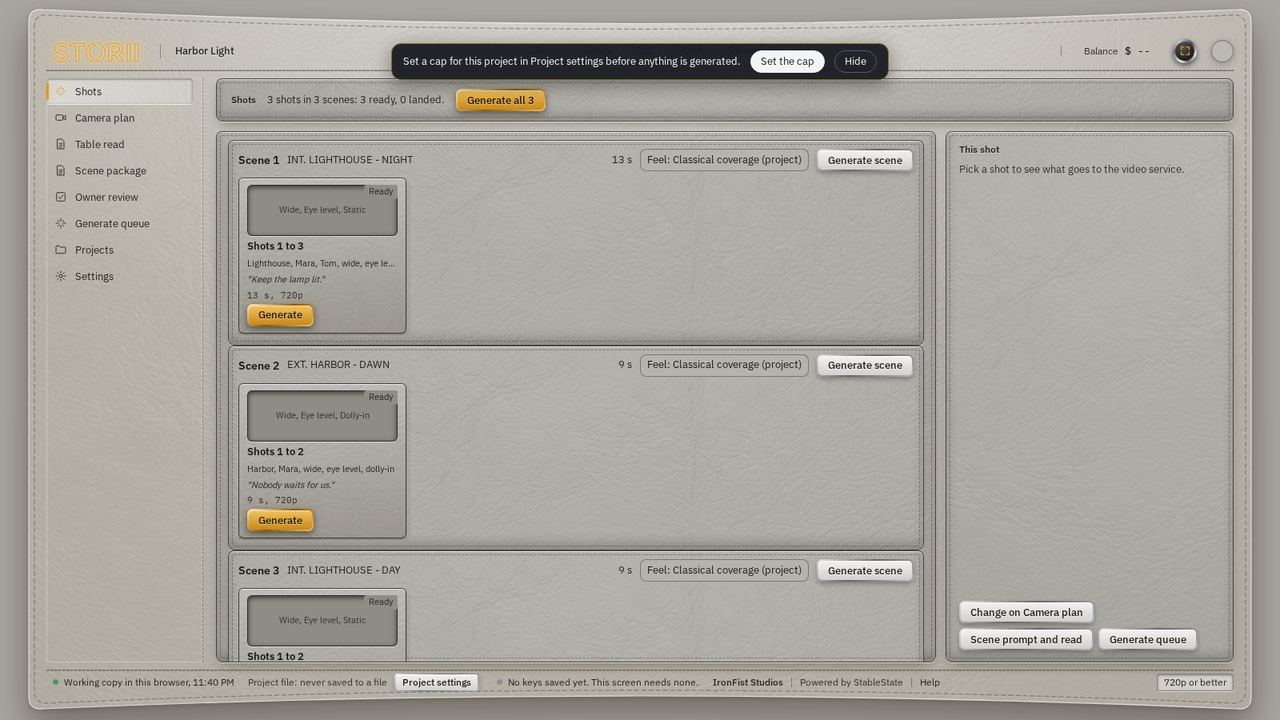 12
- 1Generate scene sends every ready shot in the scene. Each card has its own Generate.
- 2Generate all sends the whole film.
A card with no camera plan yet says so in red: plan the scene on Camera plan first. The cap is yours, set once under Project settings; STORII sets none. Nothing about money shows while you work. When the film as planned reaches about three quarters of your cap, a warning appears at the top of every page, Nearing your cap, with Raise the cap; at the cap it becomes a stop, and a Generate that would pass the cap is refused with the same words. A word from your sensitivity list marks the scene with Your read; it warns and never blocks. The meter under the cards fills as takes land.
The finer work sits on the left menu under Shots, and the next steps walk it: Camera plan to direct each shot, Table read and Scene package to voice and check a scene, Owner review for flagged scenes, and Generate queue to watch takes land and retry them. Change on Camera plan, Scene prompt and read and Generate queue on the right of the Shots page open them for the selected shot.
Plan the camera, shot by shot
Open Camera plan from the left menu on the Shots page. A scene is a row of shots, and you direct each one: how big it is in frame, from what angle, whether the camera moves, and what it is looking at. Every scene arrives with a first plan drafted from the script (an establishing wide when the place changes, a shot per action beat, and a close or medium for every spoken line with the line in it); change any card, add or remove shots, and the plan is yours. The film is drafted in order, so each scene knows the one before it: a scene that continues in the same place and moment opens with no wide, on the same size as the previous scene's last shot, with a note on the card that it joins that scene on a match; a scene in the same place later opens on a medium for the dissolve; a new place opens on its wide. The strip under the scene name shows the whole film as one row, each scene's first and last shot sizes and the join between scenes (match, dissolve, dip or cut); press a scene on it to open it.
The project's Feel (Project settings) shapes the draft: a fast feel cuts the action at every sentence into short beats with handheld or tracking first, a follow feel keeps an action block as one developing move, and the classical default drafts as it always has. With a chosen feel the draft keeps every beat and the note under the scene name reports any overrun against the script's estimate.
Every spoken line in the scene is in the draft, and each shot lasts as long as its line needs: a short line is a short shot, a long speech is cut at sentence ends. Nothing is stretched to fill the scene's estimate. One take holds up to 30 seconds, and a scene that runs longer is packed into takes of up to 30 seconds each, cut at shot ends (the Segments column on Table read shows how many), so the generator's limit is built to for you. When a plan runs past the script's own pace, one quiet line under the scene name says how long it runs and in how many takes. STORII never trims a line for you, and there is no Keep or Trim choice to make.
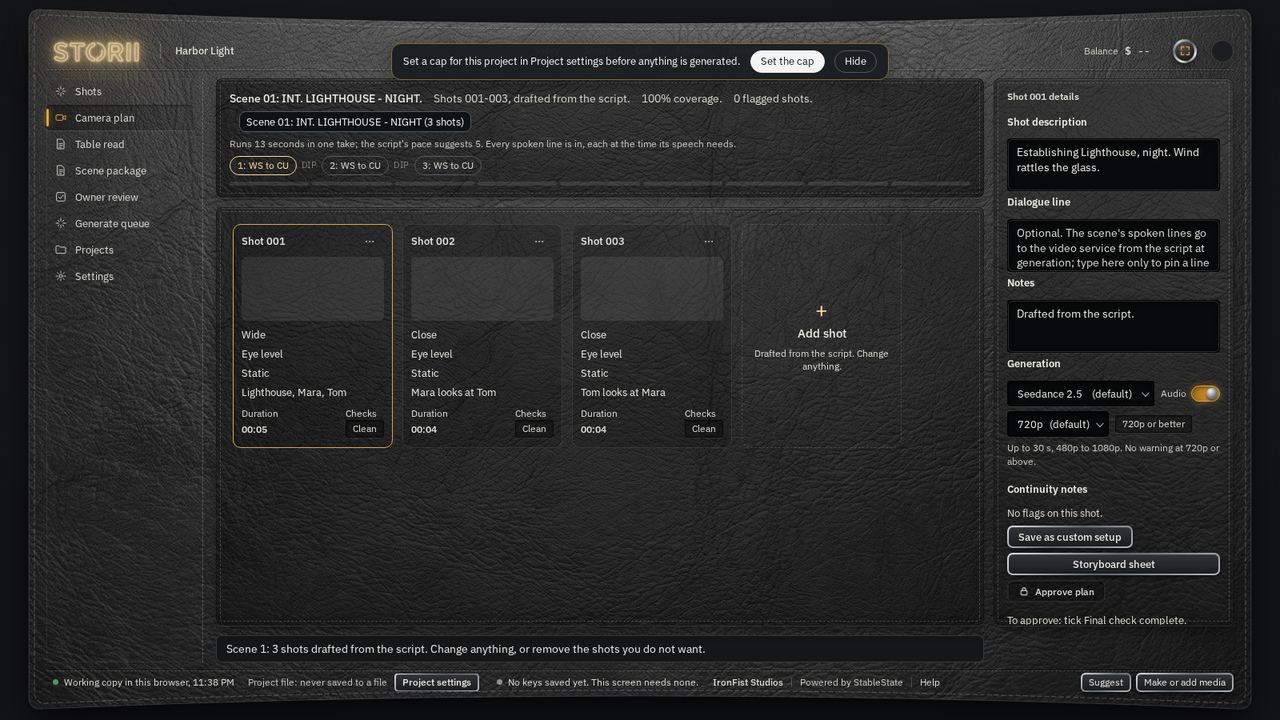
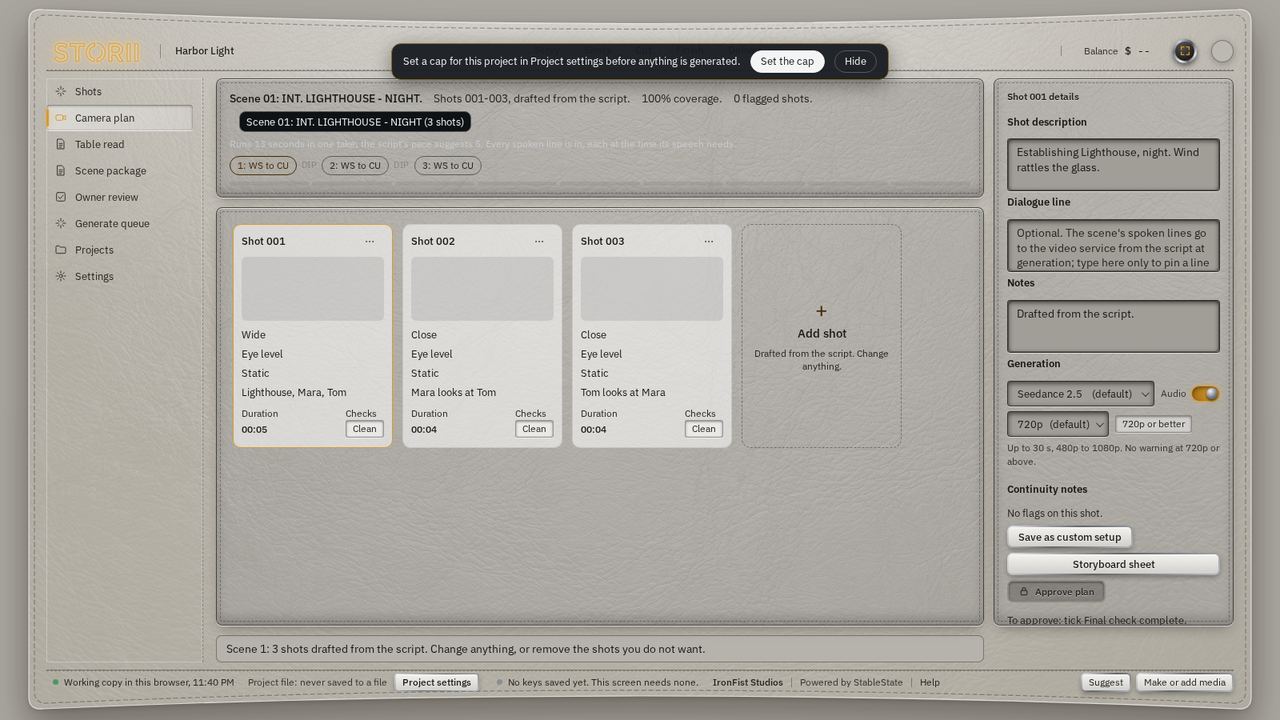 12345
- 1When the plan runs past the script's pace, this line says how long it runs and in how many takes of up to 30 seconds. Nothing is trimmed for you.
- 2The joins across the film: each scene's first and last shot sizes, and between them the join (match, dissolve, dip or cut). Press a scene to open it.
- 3The size of the shot, drafted from the script. Press it to choose another, from wide to close.
- 4The subject, the character or thing in frame, drafted from the scene. Press it to change.
- 5Add another shot, or remove one from its menu. The first change makes the plan yours.
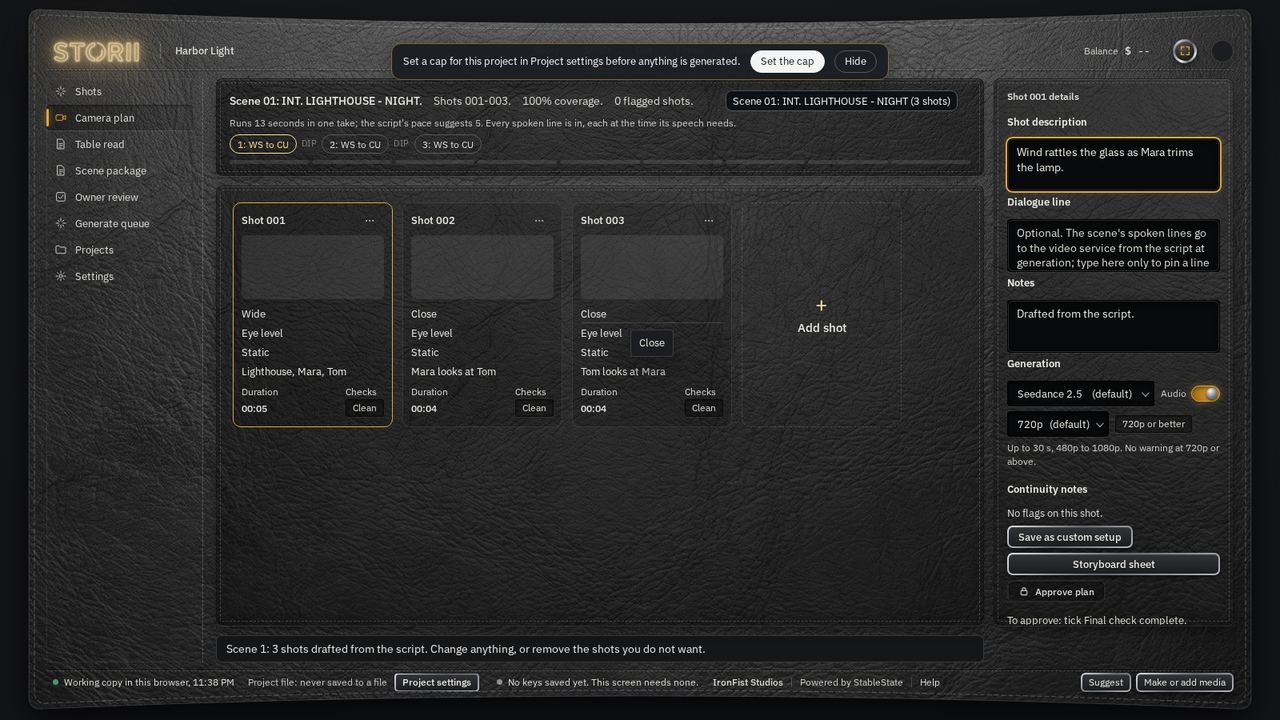
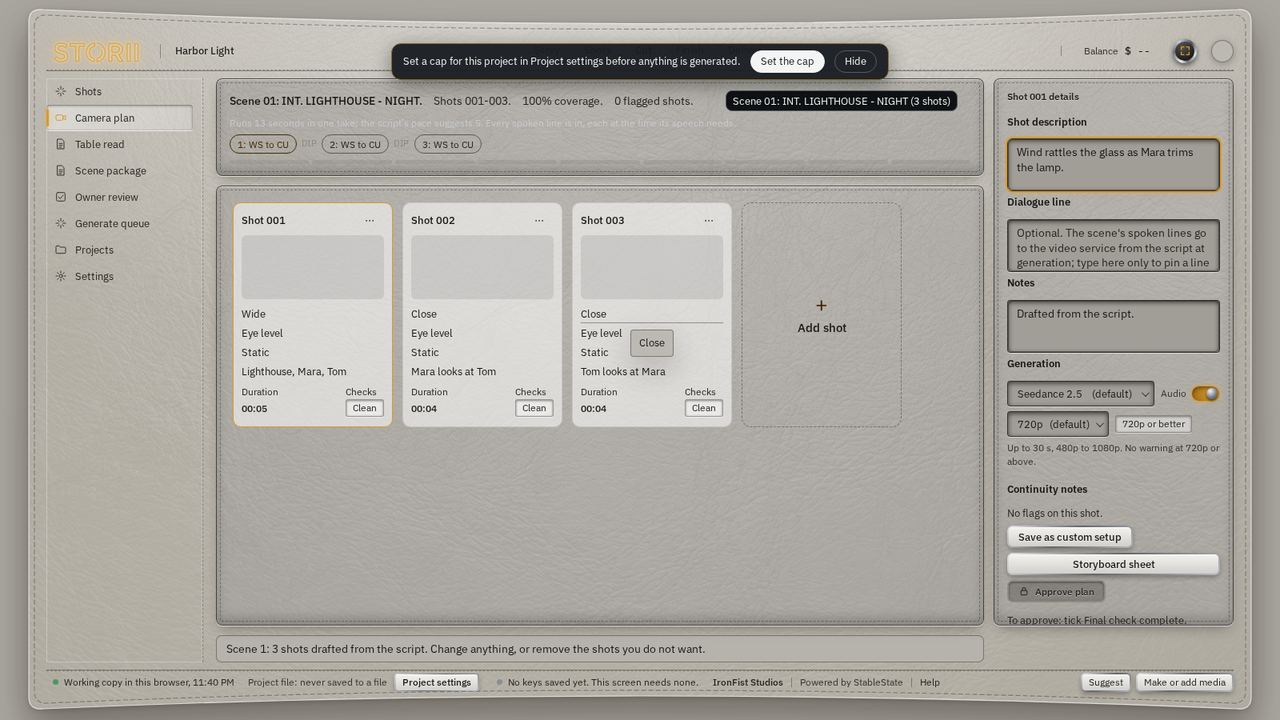 1
- 1Describe the shot in plain words.
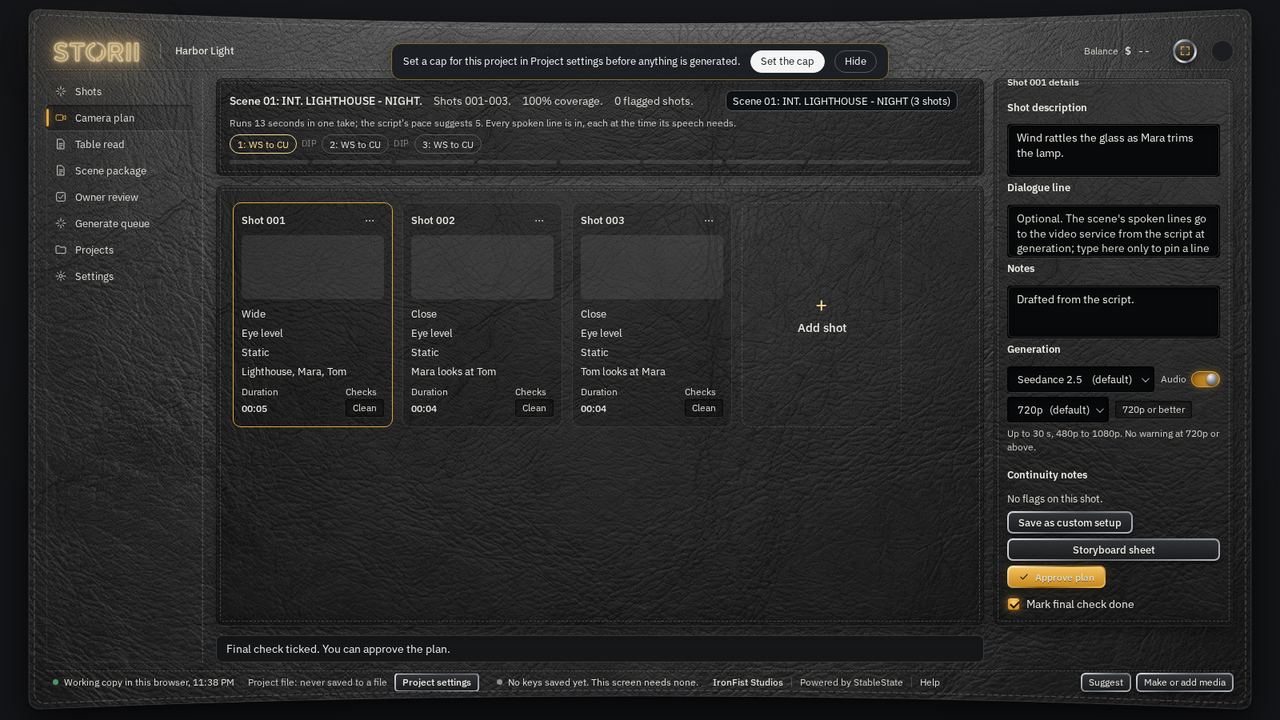
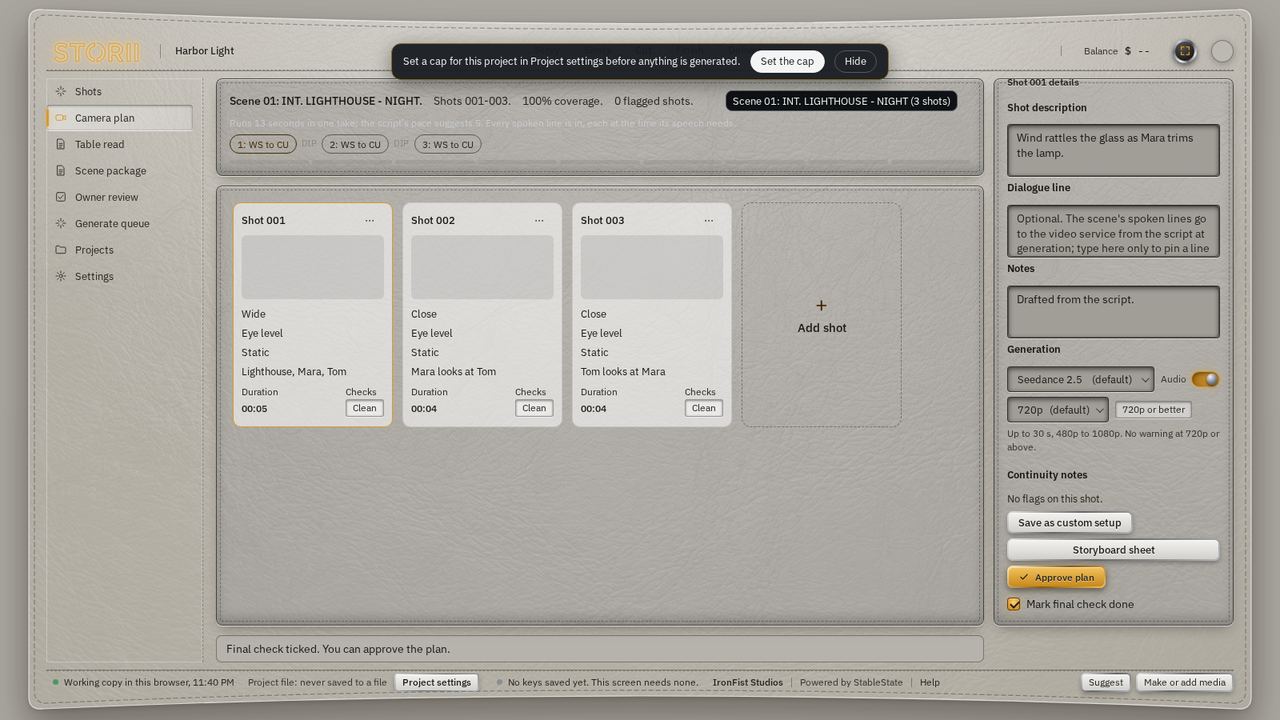 12
- 1Tick Mark final check done once you have read the plan. The message below then reads Final check ticked. You can approve the plan. If you change a shot afterwards, the tick comes off and the message says so; read the plan again and tick it again.
- 2Approve plan turns on after the final check is ticked.
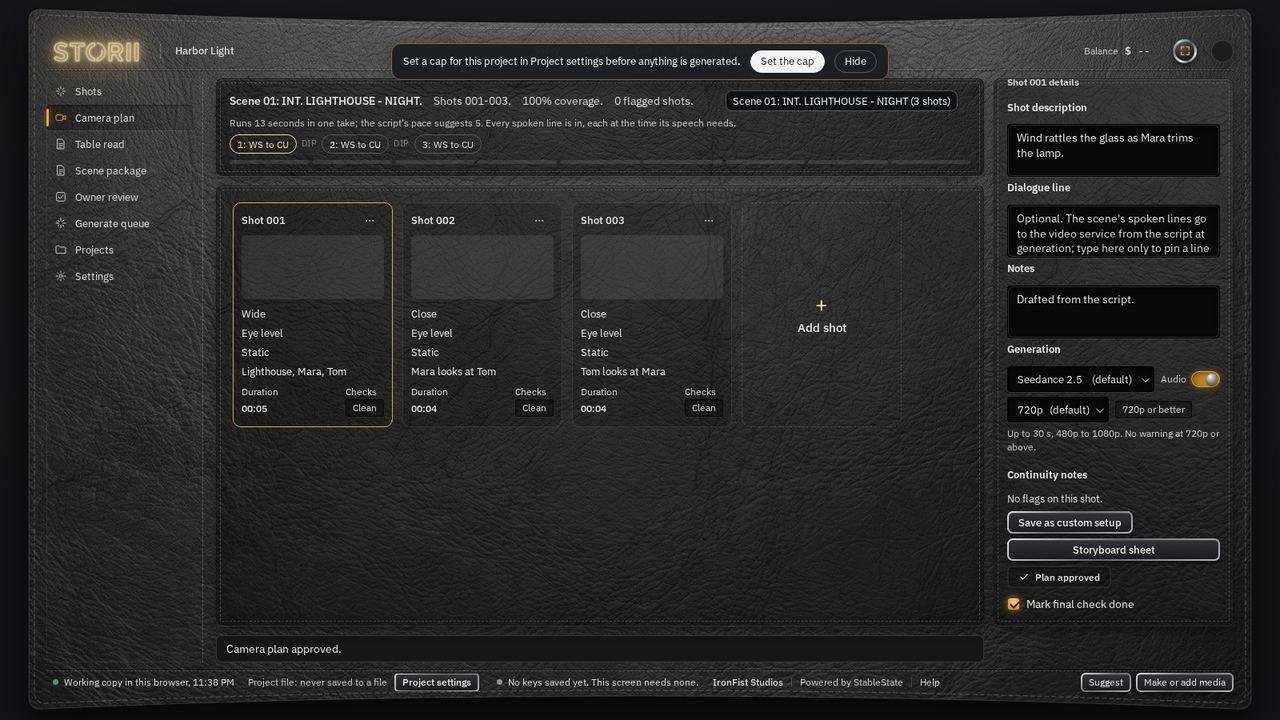
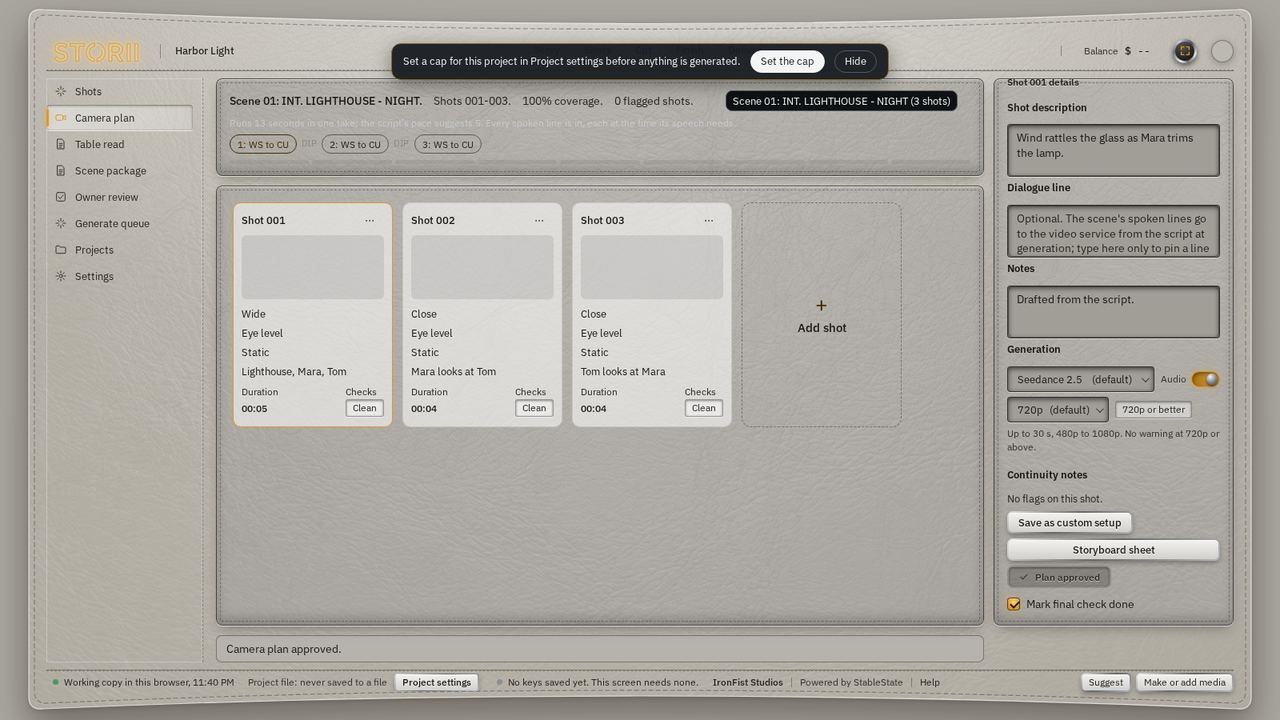 1
- 1Camera plan approved. The plan is now marked PLAN APPROVED.
Camera direction is yours, shot by shot. The draft is a starting point, never a decision, and nothing is spent here. The panel on the right also holds a Generation block (Seedance 2.5 and 720p are the defaults, and Audio is on) and a Save as custom setup option for a camera set-up you want to reuse.
A key frame is the first still of a shot, made with your image key from the shot's people (their four stills) and its place as reference pictures. Press Make or add media on Camera plan: Key frame for this shot makes one for the selected shot, Key frames for the shots without one makes the rest in one go, and What will be sent shows the exact description before you confirm. A kept key frame shows as a small picture on the shot card and goes first with that shot's take as the opening picture, which is how the video service holds continuity between shots. Remove this key frame takes it off. Nothing is made until you confirm, and each key frame is one picture at the image rate. A shot with no key frame is not sent blind when it continues from another take: the last frame of the take before it is kept the moment that take lands, and goes first with the next take so the picture carries on. A key frame you made for the shot wins over it.
Camera plan remembers the scene you were directing. If it opens on a scene with no shots while another scene has some, a message names that scene; choose it in the scene picker to see your shots again. Nothing is removed.
A shot can have more than one person in it. Press a shot's Subject (or Looks at), tick each person, then press Done. The list holds every character in your script and everyone on the Cast screen, so a person with no spoken line is still there to choose. When you type a line of dialogue, the shot's Duration is estimated from it, and any time you set yourself stays as you set it. While Approve plan is locked, the line under it names what is missing, shot by shot. A flag on a shot card is explained in a line of amber text on the card.
Read the table, then get a scene ready
Table read lists every scene as a row with a status. Press a scene's row to open its scene package. The scene package is where one scene is gathered up and checked before it is generated.
A scene turns READY after its scene package passes four checks: a segment plan; the radio play, listened to, with its three checks ticked (Volume right, Words match, No dead air); an approved camera plan; and a prompt with no spoken lines in it. The prompt is already drafted from the camera plan when the script is read. Press Mark READY once they pass. On the scene package, a Still to do line under the status names each missing item as a link that takes you to it. Under each scene on the board, a Still to do line does the same, and the locked Open Shots to generate button says which scene to finish first.
Above the boundary notes, the scene package states the chain: this scene's purpose and its first and last images from the script's note lines (or that it has no purpose line yet), how it joins the scene before (and what its first take opens on: a key frame you made, the last frame of the scene before when it continues there, or the transition the Cut makes) and how it joins the next.
The Table read board lists the scenes; pressing a row only selects it. The links in a row open that scene on Camera plan or on its scene package. The same board sits at the top of the scene package, labelled Scenes, the same board as Table read, and chooses which scene the package shows.
Press Radio play to voice a scene's spoken lines. Choose the scene at the top of the box, then a voice for each speaker. Lines found in this scene lists every line with its speaker, and says when a line was read from the prose. When a scene has lines in quotes with no speaker named near them, the box lists them under Mark the lines: choose who says each one and press Mark the lines; STORII writes the name in front of the line in your script, as Mara: "Open it.", and reads the scene again, so the radio play and the shots can use it. A scene with no lines at all says so and the radio check passes on its own; the Open Radio play on Table read link on the scene package stays there either way. For a voice you already have in your own voice service account, choose A voice id from my own account and paste its id. STORII never lists your account's voices. Under Accent, mood and direction you can add an accent, a mood and a short note of your own for each speaker, and set Delivery for the whole scene. These are sent to the voice service as spoken direction, and only on the newer models (v4 and v3). An accent given this way is a hint; for a firm accent, pick a voice that already has it.
To use a voice id again, type a name for it and press Save voice id. It then appears in every speaker's voice list under My saved voices, in this project and in any other on this device. Saved voices stay on this device and are not part of your project file. Press Remove from my saved voices to forget one. For a mood chosen from the scene itself, pick Match the mood of the scene (assistant) in the Mood list. STORII sends the text of that scene to the assistant only when you press Confirm and match; your assistant key pays. It then fills in the mood and a short direction, which you can change.
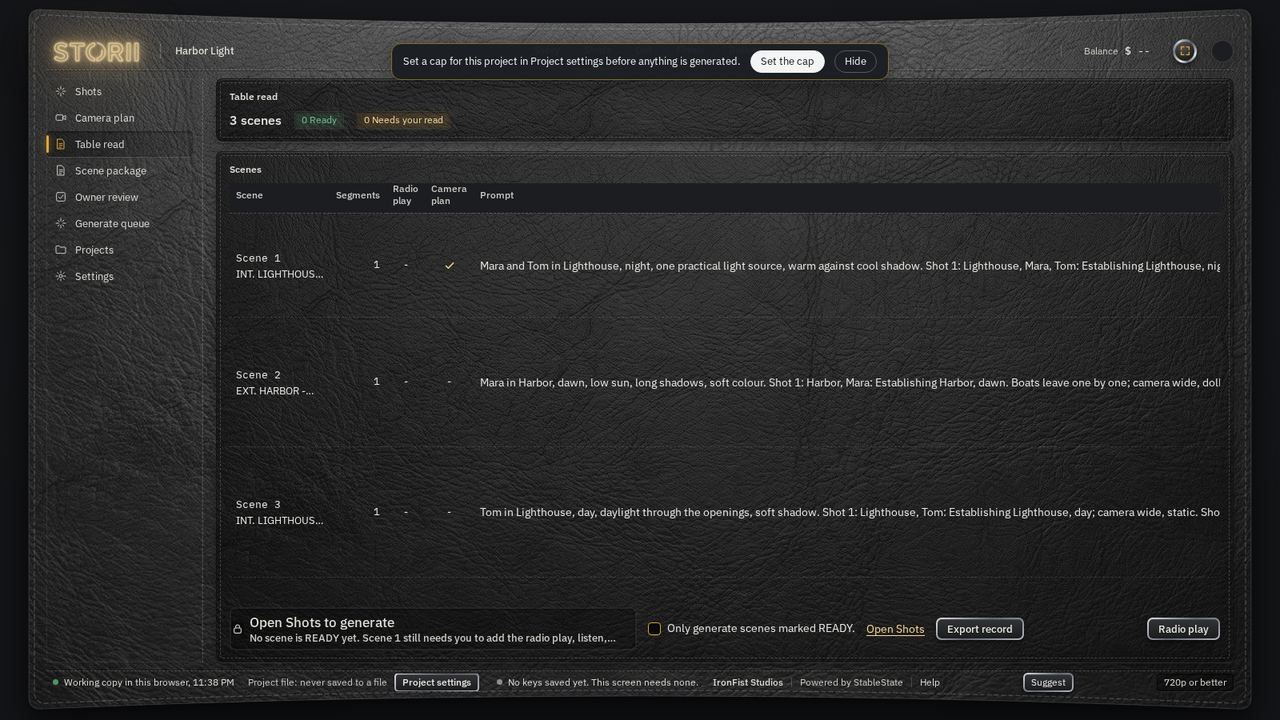
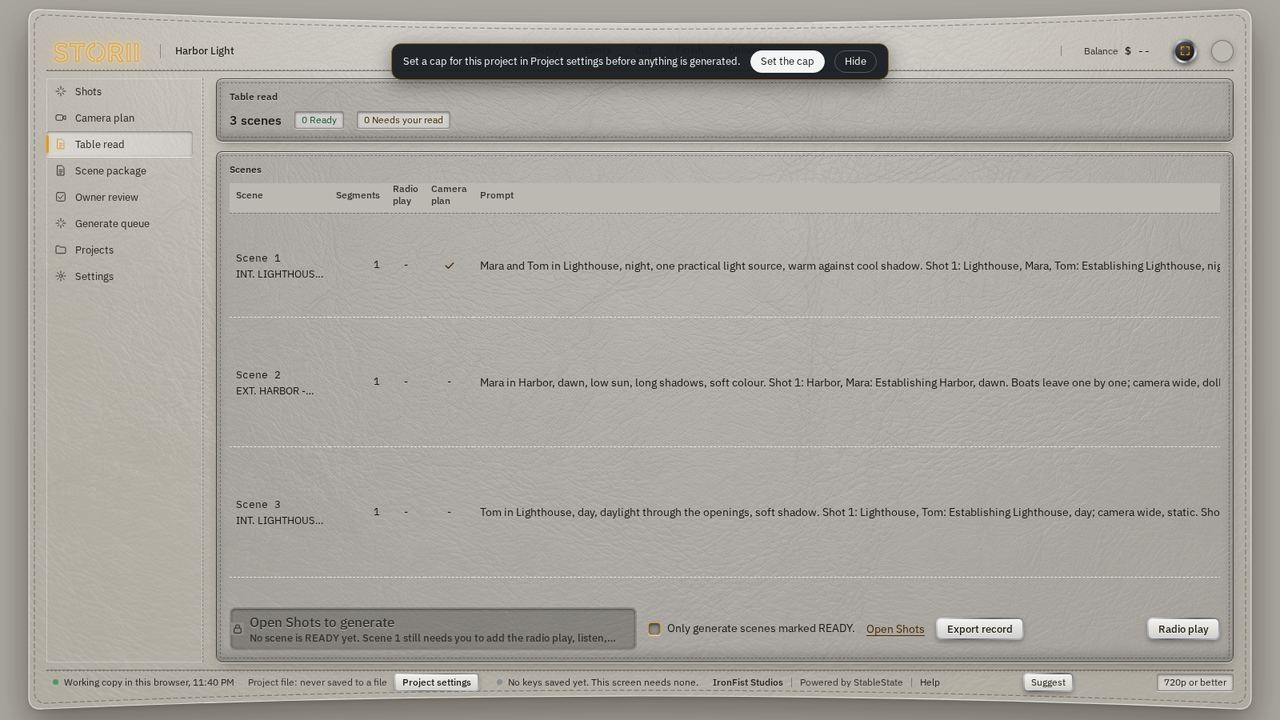 12
- 1Press a scene's row to open its scene package.
- 2Open Shots to generate takes you to the Shots page with the READY scenes. Generate there sends on the click, under your cap.
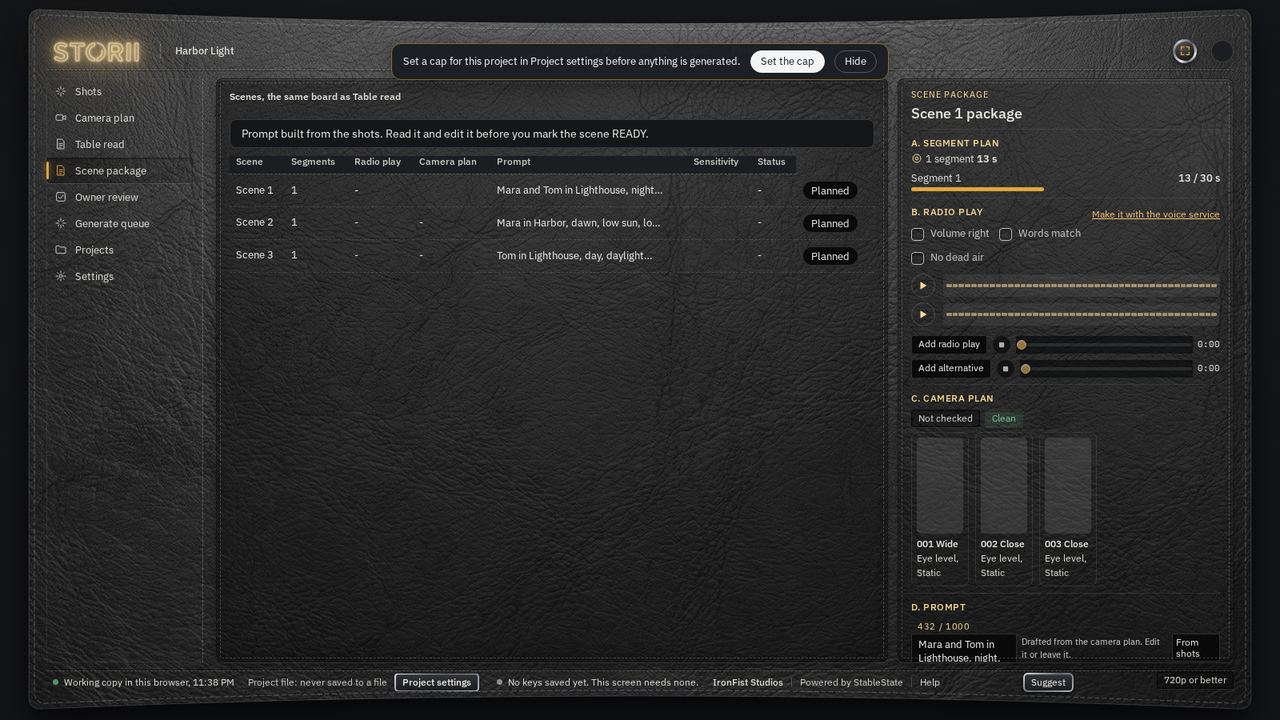
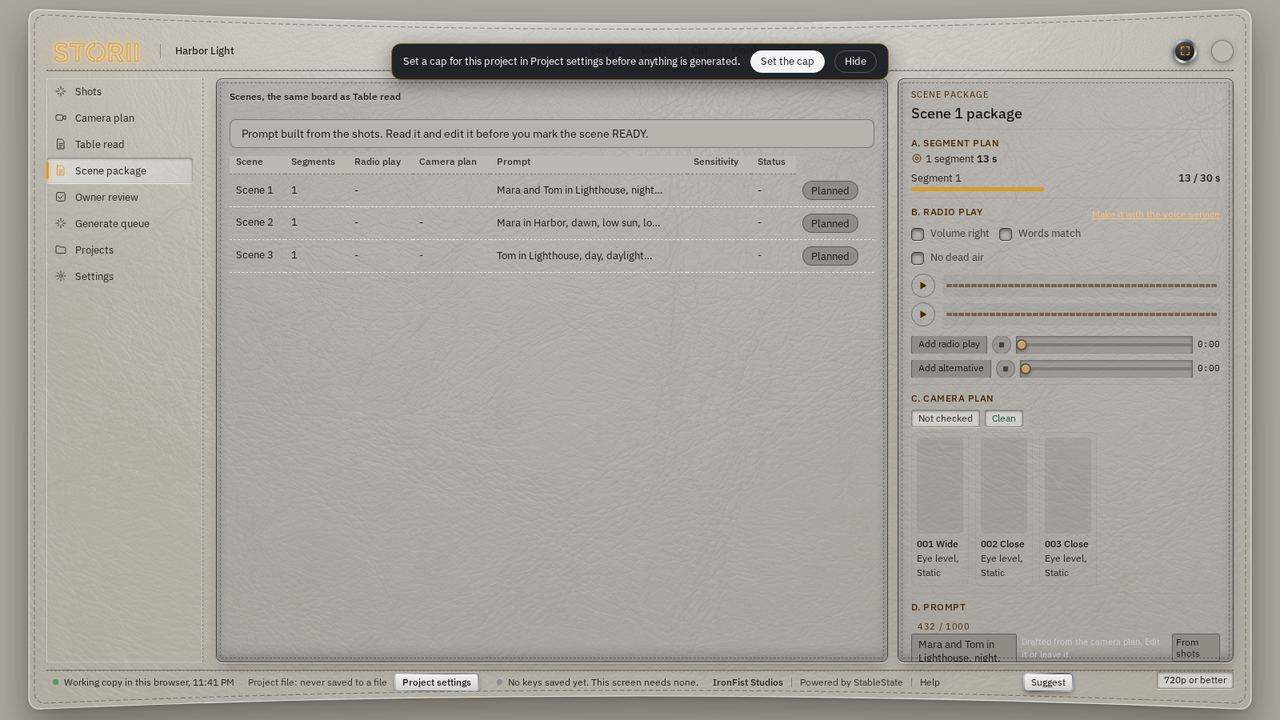 1
- 1From shots builds the generation prompt from your camera plan again. If the shots change later, a note under the prompt says so, with a Rebuild from shots link.
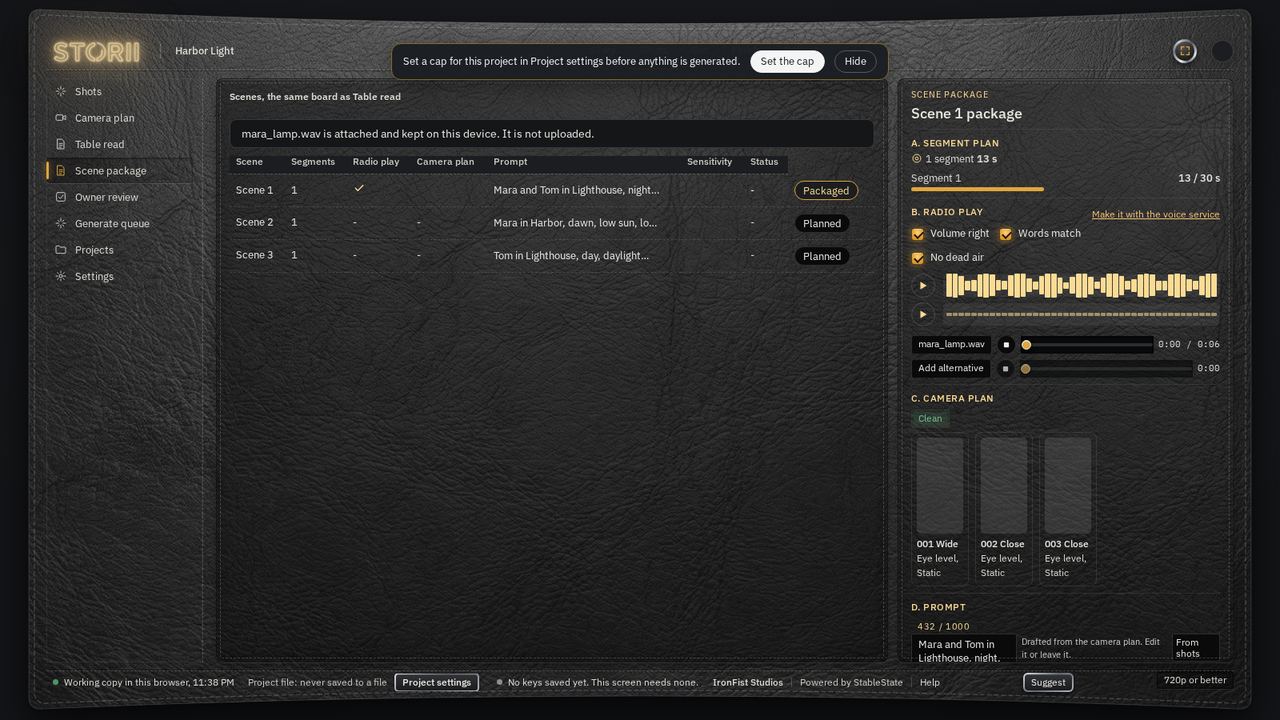
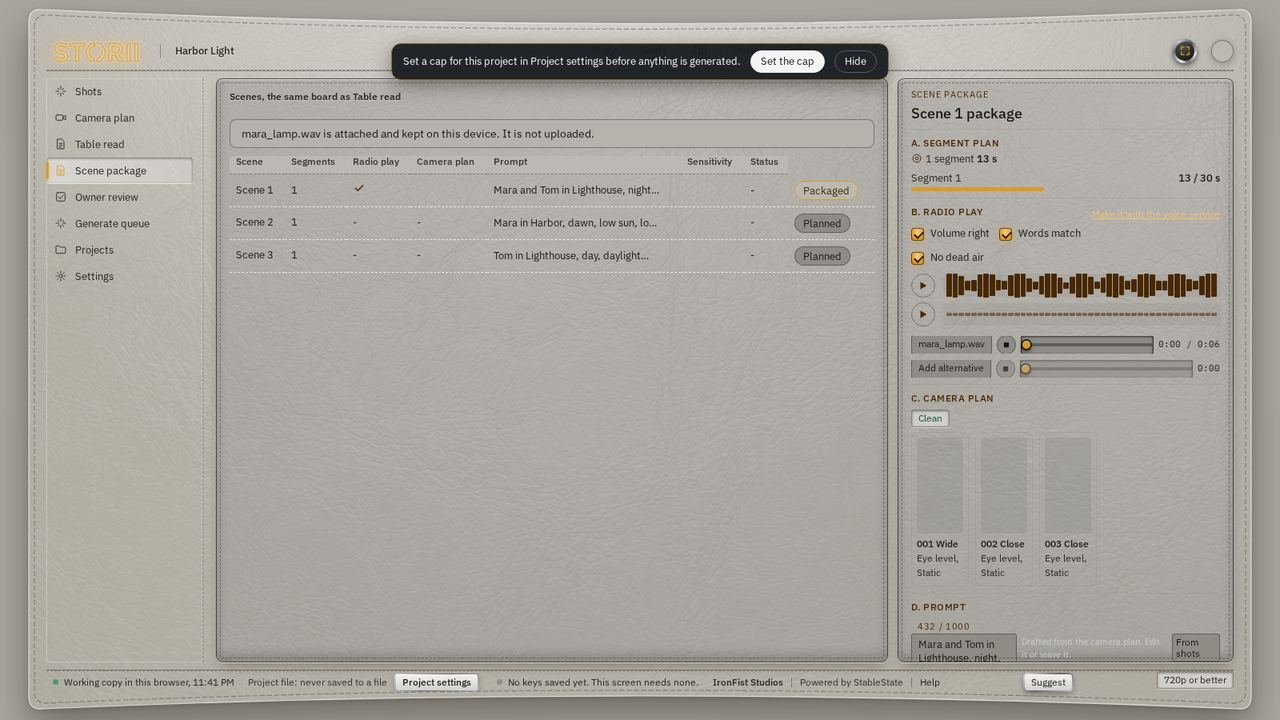 12
- 1Attach the radio play audio for the scene, or press Make it with the voice service to voice it on Table read. For a scene with no lines found, the same link reads Open Radio play on Table read, or Mark the lines on Table read when lines in quotes have no speaker. The note on the screen reads: your file is attached on this device. It is not uploaded.
- 2Listen, then tick the three checks: Volume right, Words match, No dead air.
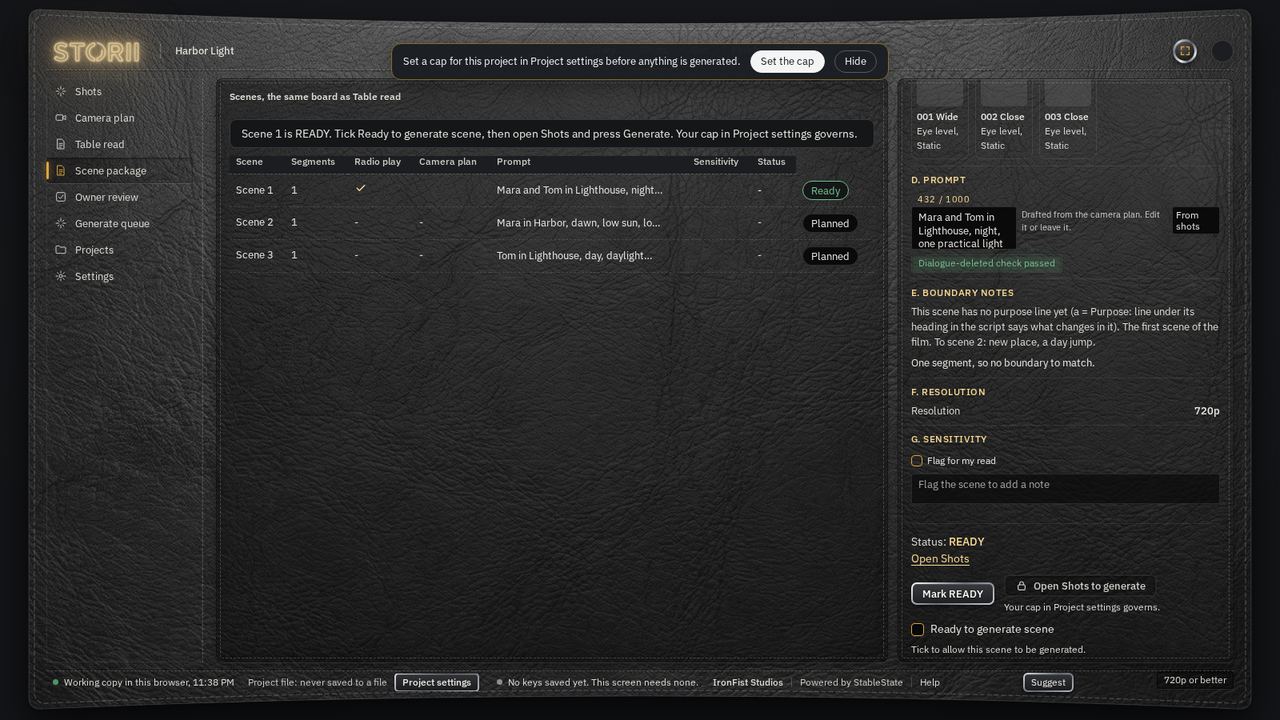
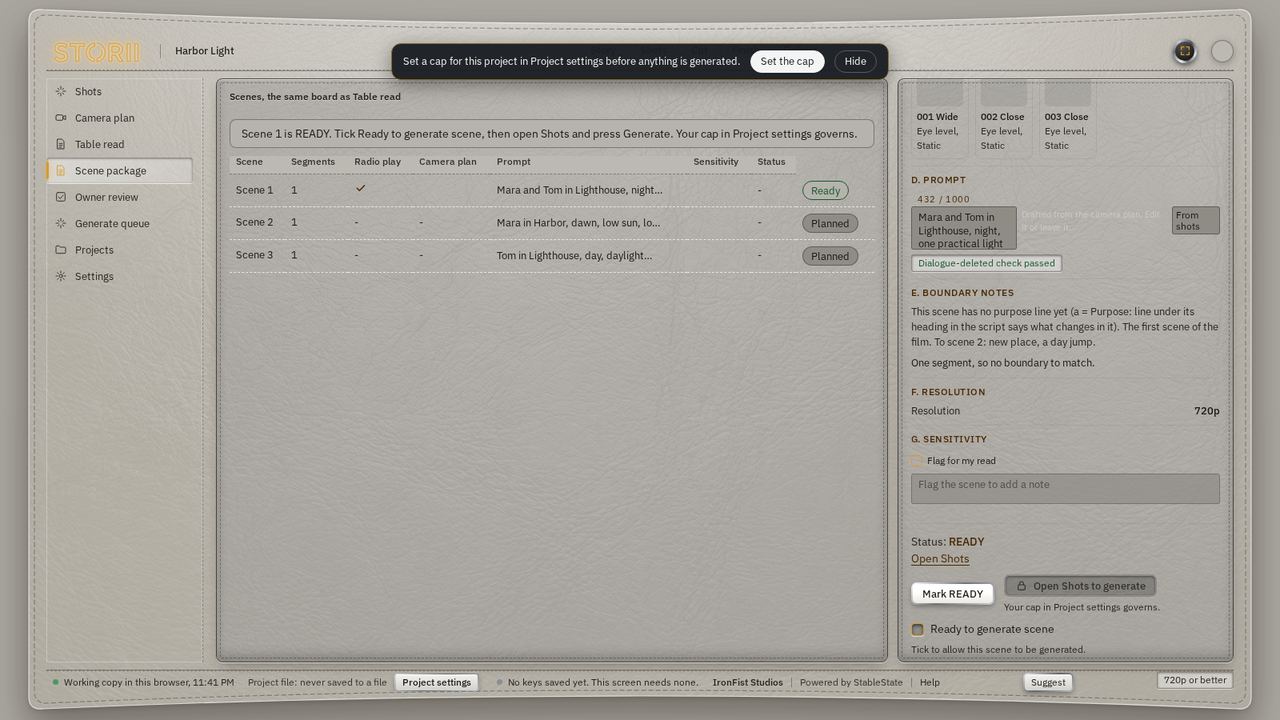 1
- 1The scene is READY. Tick Ready to generate scene, then open Shots and press Generate.
Nothing here shows a price. STORII keeps the film's planned total to itself and measures it against the cap in Project settings; only when the plan nears the cap does a notice appear at the top of the page. If you change the camera plan after the prompt was built, a note under the prompt says so, with a Rebuild from shots link.
Owner review and the generate queue
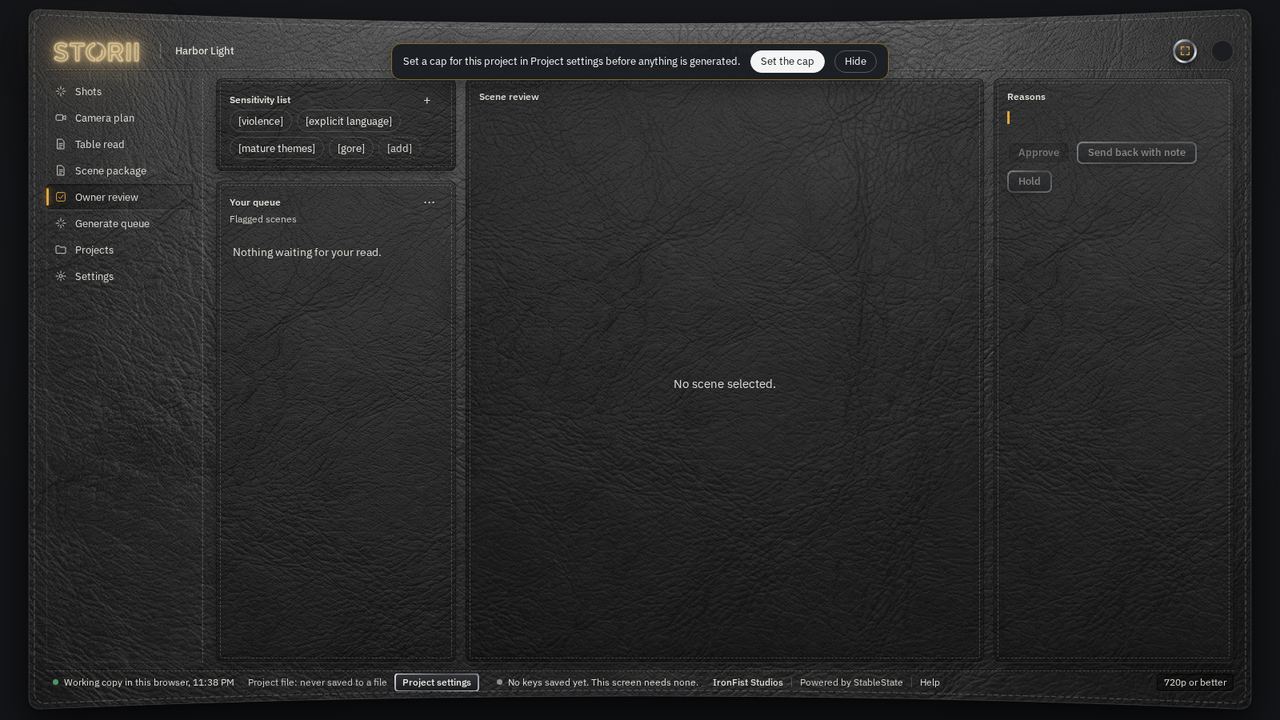
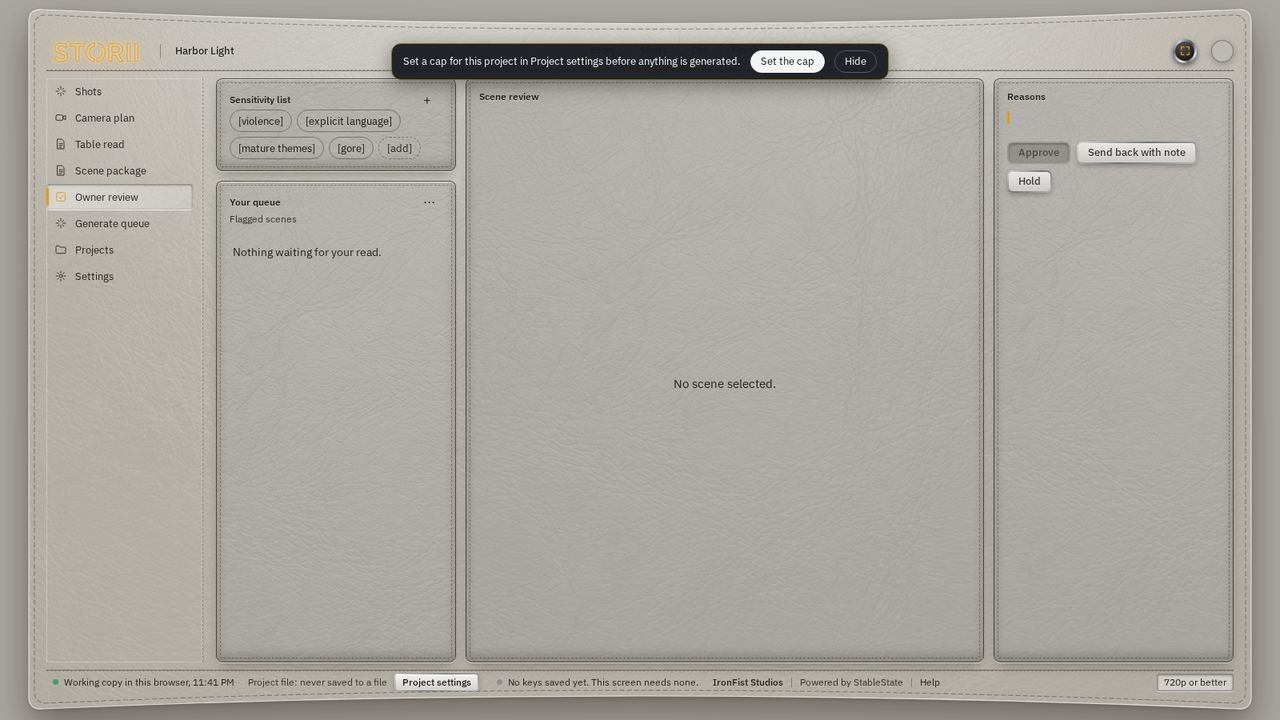
Owner review is where scenes that touch your sensitive-words list wait for your read, with Approve, Send back and Hold. A new project has nothing flagged, so it reads Nothing waiting for your read. Words on that list only warn you. They never block anything. A scene that is not flagged never stops here: it goes from its scene package straight to Shots. The Owner review item in the left menu opens this screen.
 123
- 1Approve the flagged scene. These three buttons stay off until a flagged scene is selected.
- 2Send it back with a note.
- 3Hold it for later.
This shot on the Shots page lists, for each shot, the pictures and the voice that will be sent with it. Every character in the scene goes along as a reference picture, locked or not. See exactly what is sent shows the request in full.
Generate queue shows every take as it lands, with progress and elapsed time; Submit another round retries takes. Once a take has landed, its row shows Review this take, which opens it on Review take under Cut.
Cut: the editing room
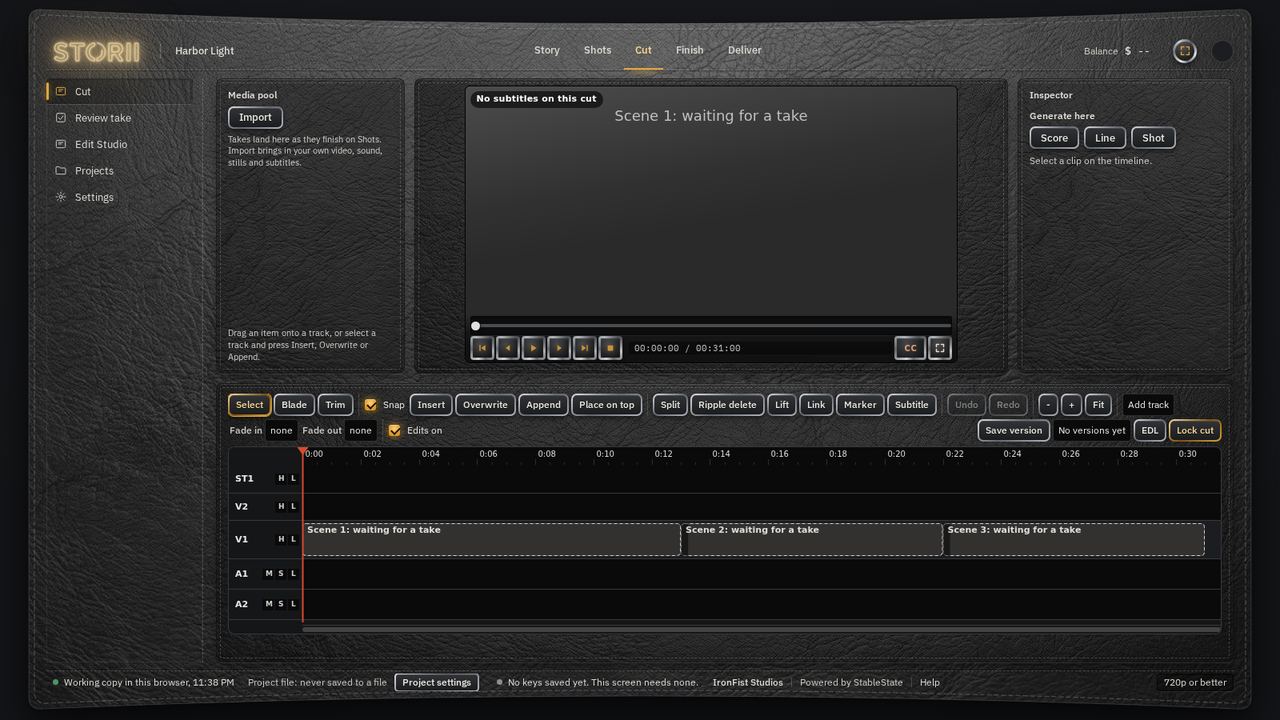
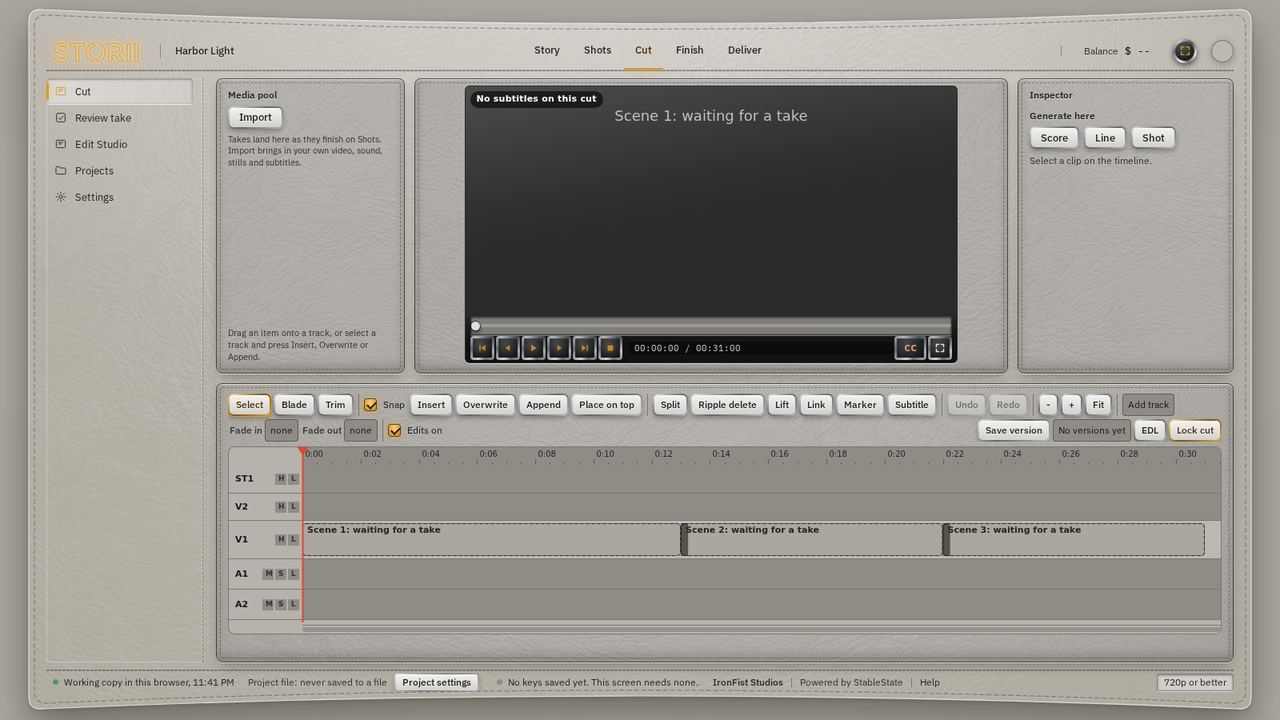
The Cut page is the editing room: the Media pool on the left, the Viewer in the middle, the Inspector on the right, and one timeline across the bottom. The timeline has five tracks to start: ST1 for subtitles, V2 for a picture laid over the film, V1 for the picture, A1 for the sound inside each picture clip, and A2 for the score. Add track gives you more. Every scene of your script is already on V1 in order, as a part that reads waiting for a take until its take lands; then the take takes its place and its sound sits under it on A1, linked to it. The transition into each scene comes from its heading when the part is first placed: the same place and moment is a plain cut, the same place later dissolves over one second, a new place cuts on the matched pair, and a jump from night to day (or any named change of the time of day) into a new place dips to black for half a second. Change any of them as you would any transition; your choice is kept. Press Play to watch the whole film in the viewer; while it plays the same button shows Pause, and goes back to Play when you pause. Go to start rewinds to the first frame. The thin slider along the bottom of the picture is the seek bar: drag it to scrub to any moment, click anywhere on it to jump there, and press the left and right arrow keys, Home or End while it is focused to step or go to the ends; it moves by itself while the film plays. Space plays and pauses, J K and L shuttle, the arrow keys step one frame, Home and End jump to the ends, and the timecode under the viewer counts frames. Subtitles are drafted from the script onto ST1 as takes land: for a pack film their times start from the radio play's silences, then the speech reader times each line to the scene's own sound on the cut, keeping the script's words; a scene where nothing is heard keeps its draft, moved to the first sound. A caption shows as at most two lines, broken at a clause; a line too long for two is cut into separate cues when it is drafted and again when the cut opens, and an opened cut asks the speech reader to time any scene whose subtitles were never timed. Captions sit inside the centred band that survives a vertical crop (Project settings, Captions: Survive a vertical crop or Wide 16:9); the burn-in uses the same lines and margins and the SRT the same breaks.
Cutting. Put the playhead where you want the cut and press Split (or Ctrl B): the clip under the playhead splits, and its sound with it. Select (A), Blade (B) and Trim (T) are the three modes, and the lit button is the one you are in. In Select mode, drag a clip to move it and drag either edge to trim it in place: the pointer turns to a double arrow, a note says what the edge does, it works on the last clip too and on the outer edge of a clip that touches its neighbour, and the rest of the film stays where it is, so a head trim leaves a gap and a tail trim stops at the next clip (hold Alt to pull what follows along). In Trim mode the edges ripple: what follows moves up to close the gap (hold Alt to leave it). In Trim mode you can also drag the top half of a take to slip it, which keeps the clip where it is and shows earlier or later frames of the take, with a dotted outline showing how much of the take is not on the timeline; drag the bottom half to slide it between its neighbours, which give or take the frames so nothing else moves. Subtitles and stills have nothing to slip, so they move in either mode. With Blade, a click on a clip cuts it there. Selecting works the same in every mode. Ripple delete (Shift Delete) removes the selected clip and closes the gap; Lift (Delete) removes it and leaves the gap. Snap makes edges, markers and the playhead stick as you drag. Link joins or parts a picture and a sound so they move together or apart. Marker (M) drops a note at the playhead. Undo and Redo go a hundred steps. The zoom buttons and Fit take you from the whole film to one frame per pixel; Ctrl and the mouse wheel zoom around the pointer. Double-click a clip to jump to it. Drag across empty timeline to draw a box and select every clip it touches. Click a clip to select it; Ctrl click adds a clip to the selection or takes it out, and Shift click selects every clip from the last one you picked to this one. Drag any clip of a selected group and the whole group moves together, as one step you can undo. A trim that goes too far stops at the clip's own ends instead of refusing. While you are dragging, the Escape key puts everything back as it was; nothing changes and there is nothing to undo. The comma and period keys nudge the selected clips one frame earlier or later, and with Shift five frames. When Snap is on, a line shows what the edge is sticking to; hold Alt while you move a clip to drag past it. The timeline keeps scrolling while you hold a drag near its edge. When you have zoomed in, a scroll bar sits under the tracks: drag its thumb to move along the film, click the bar beside the thumb to move a page at a time, or focus it and use the arrow keys, Page Up, Page Down, Home and End. The mouse wheel and the playhead move it too, and when the whole film fits the bar is greyed out.
Right-click. Right-click a clip for Cut, Copy, Paste at playhead, Duplicate, Delete, Ripple delete, Split here, Link or unlink picture and sound, the transitions into the clip and Add marker here. Right-click empty track for Paste here, Paste and push the rest along, Select all on this track, Move playhead here and Add marker here; the ruler offers Fit the film in view. The keys are the usual ones: Ctrl X, Ctrl C, Ctrl V, Ctrl A, Ctrl Z, and Ctrl Shift D to duplicate. The red playhead needle is grabbed exactly where it is drawn, near the start of the film or far along it, and dragging the ruler scrubs the film. The timeline opens fitted to the whole film. From the keyboard, the toolbar is one stop in the Tab order and Left, Right, Home and End move along its buttons; Space presses a button you have reached with the keyboard, and plays when you have not; Page Down and Page Up select the next or earlier clip, subtitles included, and move the playhead to it; a screen reader can list every clip in order and read the playhead as a slider with its timecode. Where the playhead sits on a cut, the pointer there still takes hold of the cut to trim it. Animation stops if your device is set to reduce motion.
Bringing things in. Press Import and choose a video (mp4, webm, mov), a sound file (mp3, wav, m4a, flac, ogg), a still (png, jpg, webp) or an SRT subtitle file, up to 600 MB each, or drop the files anywhere on the page. They go into the media pool and stay on your device: nothing is uploaded, and the line under Import says how much space this device has left. Drag an item from the pool onto a track, or select it and press Insert (at the playhead, pushing what follows to the right), Overwrite (at the playhead, over what is there), Append (at the end) or Place on top (on V2). A video brings its sound with it; a sound file lands on the score track; a still lasts five seconds until you trim it; an SRT becomes cues on ST1 from the playhead. An imported clip cuts, trims, moves and links exactly like a take.
The inspector. Select a clip and the inspector shows it. For a picture: zoom, position, rotation and opacity, flips, a crop on each side, and the transition into the clip (Cut, Dissolve or Dip to black, with its length in frames). A dissolve overlaps the two clips by its length; if a clip has too few frames for it, STORII shortens the dissolve and says so. A dissolve needs the two clips to touch: if there is a gap before the clip, STORII fades it in from black over the same length instead and tells you how to get the dissolve (drag the clip left until it snaps onto the one before). For a sound: volume in dB, pan, and a fade in and out. For a subtitle: the words and the speaker, with a note when a cue breaks the timing rules and a button that applies them to every cue (two lines of 42 characters, five sixths of a second to seven seconds on screen, two frames between cues, small gaps closed, and a cue that is just short of its reading time held a little longer). Type in the words box and the picture and the timeline change as you type; Undo takes back a whole edit, not a letter at a time. The note names a cue by the same number it has in the .srt file. Subtitle clips show their words on the timeline over two lines. The viewer shows all of it, and the film renders exactly as the viewer plays it. The inspector scrolls as one column, so every control and the generate buttons are always reachable. If a clip's file cannot be read from this device, the viewer says Media offline and the clip is marked on the timeline; Try again reloads it once the file is back.
Generate here. The three buttons under the inspector make things straight onto the timeline. Score writes a brief for the scene at the playhead (or the clips you selected), you edit it, and the music lands on A2 at that place when it is ready; you keep editing meanwhile. Line takes a line of dialogue and a cast voice and lands the spoken line on a voice track. Shot fills a part that is waiting for a take, or a gap on V1, by opening Shots for that scene; the take lands in the gap when it arrives. Your project cap governs all three, and nothing shows a price inside the project. A clip that was generated is an ordinary clip: cut it, move it, or swap it for an import.
Sound done for you. With Edits on, every sound cut gets a short ramp so nothing clicks, music joins crossfade, and the score drops under spoken lines. CC on the viewer hides and shows the subtitles. They show by default whenever the cut has some, playing or paused, and a small note at the top left of the picture says in words what the subtitles are doing (showing, next one at a time, hidden, none on this cut); if the cut has no subtitles yet, switching it on drafts them from your script, and if there is nothing to draft it stays on with a dashed outline and tells you so. Press Subtitle (or S) to add a subtitle at the playhead, type its words in the inspector and they appear in the picture straight away; right-click ST1 and choose Add a subtitle here to add one at the pointer; the words are drawn at the same size and height as they will have if you burn them into the film, so what you see is what renders. Two cues are never on screen together: where cues on two subtitle tracks overlap, the earlier one is shortened (or the later one starts a moment after it), in the viewer and in the .srt alike; STORII drafts them from your script when you first open Cut, and right-click empty space on ST1 and choose Draft subtitles from the script to draft them again. The .srt file is written beside the film either way. Save version keeps a named state and the versions menu brings one back. EDL saves an edit list another editor can open. When the film is right press Lock cut; Finish and Deliver then build from it, and Unlock keeps everything if you change your mind. Everything on Cut runs on your own device and costs nothing to use.
 12345678
- 1Import brings a video, a sound file, a still or an SRT into the media pool. It stays on your device.
- 2The toolbar: Select, Blade and Trim, Snap, Insert, Overwrite, Append and Place on top, Split, Ripple delete, Lift, Link, Marker, Undo and Redo, zoom and Fit.
- 3The timeline: ST1 subtitles, V2 overlay, V1 picture, A1 clip sound, A2 score. Drag, trim and split here.
- 4The scroll bar under the tracks: drag the thumb to move along the film when you have zoomed in. It is greyed out when the whole film fits.
- 5The seek bar on the picture: drag or click to jump to any moment. It moves by itself while the film plays.
- 6CC is the captions switch: on, the subtitles show over the picture.
- 7Generate here: Score, Line and Shot make things straight onto the timeline.
- 8Lock cut freezes the film so Finish and Deliver build from it. Unlock keeps that work.
Review take and Edit Studio sit on the left menu under Cut. When a shot has more than one take, a Takes row above the shots table lists them; press one to review it, with its own verdicts and notes kept, and the one in the cut says so. Review take gates every take with its four checks before it enters the cut: Accept take, Send to Edit Studio and Retake turn on once a real take has landed, and each accepted or retaken take is kept, so the original is always one click away. Under the player, Review says what went with the take, for example Sent with this take: 2 pictures (Anna, character; Bo, character), and the voice of Anna. or that the written prompt went alone. Each shot row shows a small picture taken from the take at that shot.
Frames turns the take into a sheet of still frames with their times. Click a frame to jump the player there, mark what is wrong at that moment, and copy the note or add it to the scene prompt for the retake. With an earlier take saved, Compare with previous take shows the two side by side, and Save sheet keeps the sheet as a picture. After you press Show frames and pick a frame that shows a character, location or prop clearly, choose it in the list and press Keep as reference: the frame is saved with that item in the library, up to three per item, and goes with every scene the item is in. It runs on your own computer, sends nothing and costs nothing. Edit Studio needs a laptop or desktop; on a phone it says so. There you can paint a mask with Brush or Lasso, take part of it away with Erase mask, soften its edge with Feather, undo with Ctrl+Z, set an in point, an out point and clear them with I, O and X, and build an edit list of the repairs you pick. The repairs are decisions only so far: they are not rendered into the picture yet, so Compare has nothing to show. Hover any control, or tab to it, for a one-line hint of what it does. Its Regenerate this region button is not connected to the video service yet and says so when pressed; to redo a take, use Retake on Review take.
Finish: the master
The Finish page plays the whole film as one master: every clip on the timeline in its place, the transitions, the sound mix and the subtitles, exactly as they will render. The strip under the monitor marks each part of the picture track; press one to jump there. Space plays, K stops, the arrow keys step a frame, and the full screen button fills the screen. Order, trims and sound are changed on Cut; Finish is where you grade.
Grade the master here, before you export. Move Exposure, Contrast and Temperature, or pick a look from the Look list, then open Fine controls for Warm/Cool (cool blue to warm orange), Tint, Hue, Saturation, Vibrance, Highlights, Shadows, Blacks, Fade, Grain, Vignette, Bloom and Film gate. They show on the monitor across the whole film and are baked in when you press Render the film on Deliver; the chip on the card reads In the render. Drag the divider on the monitor to compare: the left side is the picture before the grade and the right side is after (arrow keys move it too). Press and hold Hold for before (or hold B on the monitor) to see the whole picture without the grade. Moving any slider sets the look to Custom; Reset clears it. Press Suggest a grade and describe the look you want to have the assistant propose values, then Use to apply them. Nothing changes until you do. Grading is offered at 720p or above.
Deliver: formats
The Deliver page is formats only. Lock the cut on Cut, then choose how the film goes out. Every format carries the place it is rendered beside its name. On this device: Web 1080p, Web 720p and Phone 720p are made by your own browser, free, and nothing leaves your device. Cloud: Web 1080p fast, Broadcast 1080p, Master, ProRes 422 HQ, Web 4K and Master 4K, ProRes 422 HQ are made by STORII's render service from the same cut, for what a browser cannot carry; the 4K notes say that takes generated at 720p are scaled up and gain no detail. For a cloud format a tick box appears under the note, never ticked for you, that says how many files and how much data leave your device for that one render; they are deleted when the film is back, or after two days. The line under the button then says how many minutes the render should take, plus the upload, and, on this account, Included on this account, and the button says Render in the cloud. Web 720p and Phone 720p render in one pass on your device; Web 1080p renders there in parts: each picture clip is prepared on its own at full size, then the parts are joined with the sound, the score, the look and the captions in one last pass, and the progress line names the part it is on and then says it is joining. A failed part is named with its clip, and the render starts again from the first part. Whether a long 1080p cut fits your device's memory depends on the device; if it does not, choose a cloud format. Each format's note says its size and its loudness; the web formats sit at -14 LUFS, the level streaming sites play at. Tick Letterbox inside 16:9 to bake the frame from Cut into black bars instead of cropping. Captions are off unless you tick Burn captions in (it starts ticked when Captions is on in Cut, which Cut switches on when it first drafts subtitles; untick it for a clean film); the .srt stays beside the film either way, and when you burn them in you choose the font from the list beside it. Under the line about time, Deliver says what the film carries: how many score, voice and picture sound clips are in it, how many subtitle cues there are and whether they will be burned in, and a Check line for anything that would be missing, such as no score on the timeline, an empty subtitle track with burn-in on, or a file that is not on this device. A file that cannot be loaded is named and left out, and the render says so when it ends. The line under the button says about how long the render will take on this device. Then press Render the film: one file is made on your own device from the whole timeline, with every cut, transition, level, fade, the sound mix, the look from Finish and the frame baked in, and it is listed with four files beside it: the .srt of the whole film, an EDL and an FCPXML that another editor can open, and the film itself.
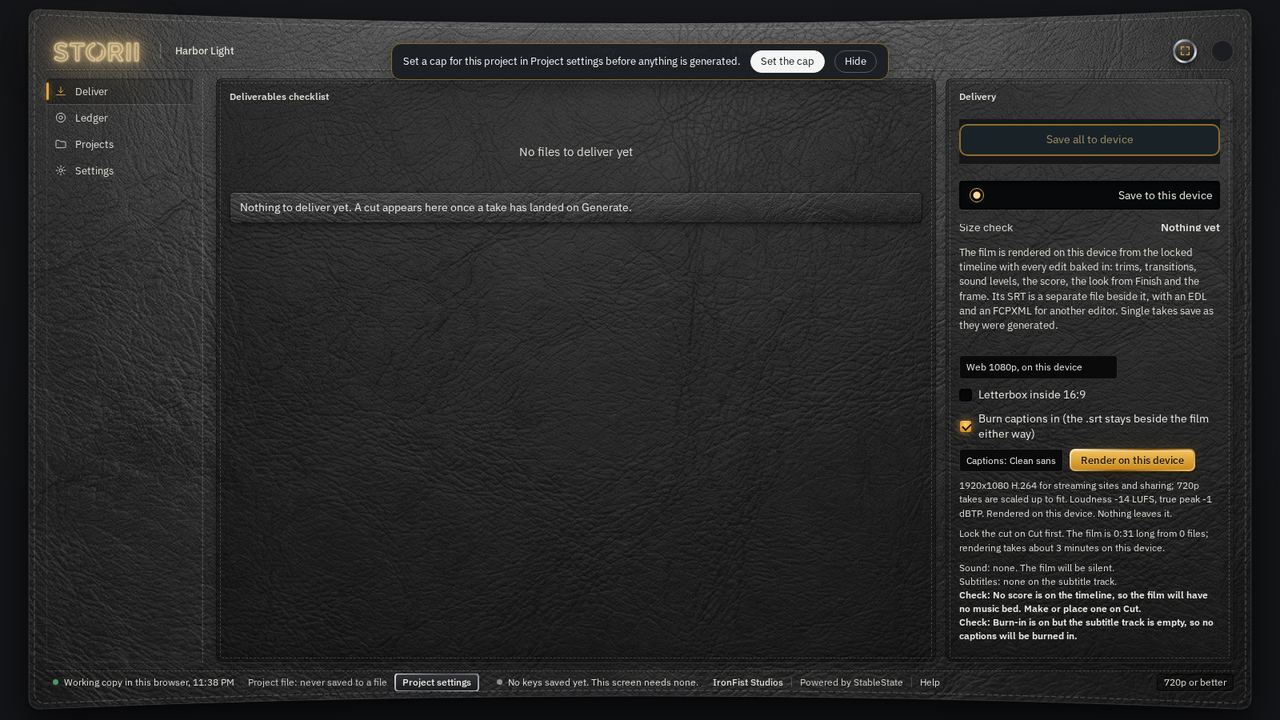
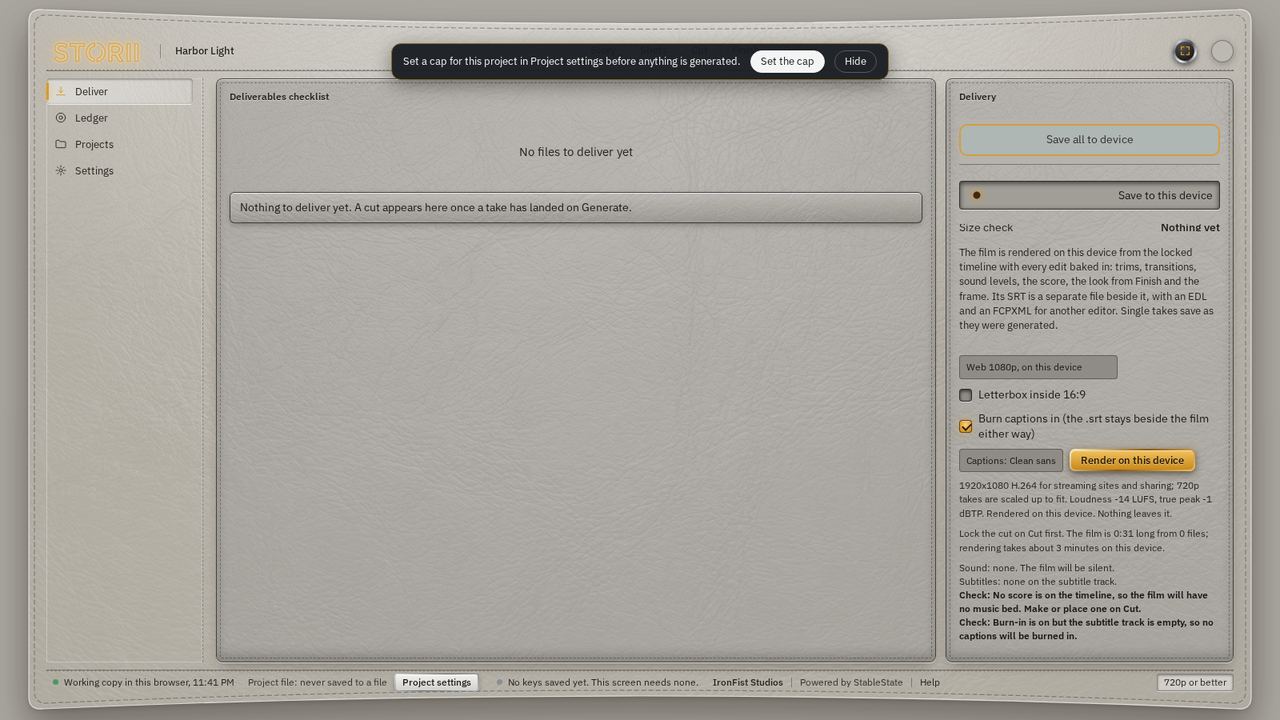 123
- 1Choose a format. Each one says where it renders: on this device, or cloud.
- 2Burn captions in is off unless you tick it. The .srt stays beside the film either way.
- 3Render on this device makes one file from the whole timeline here and lists the .srt, EDL and FCPXML beside it. For a cloud format the button reads Render in the cloud.
Save all to device saves the film, its files and each take you have kept, and stays off until there is something to save. Every cut gets its subtitles as a separate .srt file with the same name. A device render runs on your own device and sends nothing; a one-minute film takes a few minutes, and the estimate line says how long on this device. A cloud render sends only the files named in the tick box, straight to STORII's render store, never through the service that holds your keys; the row shows the upload, the queue, the render and the film coming back, and a render-log.txt file lands beside the film. A cloud render that fails delivers that log and no film, and clears its files at the service.
Ledger sits on the left menu under Deliver. It lists your scenes with what each has cost so far, and holds Save a project copy, the next step.
Save a copy of your project
Open Ledger. It lists your scenes with what each has cost so far, which is $0.00 until something is generated. On the right, Save a project copy saves your whole project as a single file in your downloads folder, with its saved clips and audio inside it. Save project as saves the same file where you choose: a folder and a name on your computer. It is a project file for opening later, not the finished film; the film is saved from Deliver.
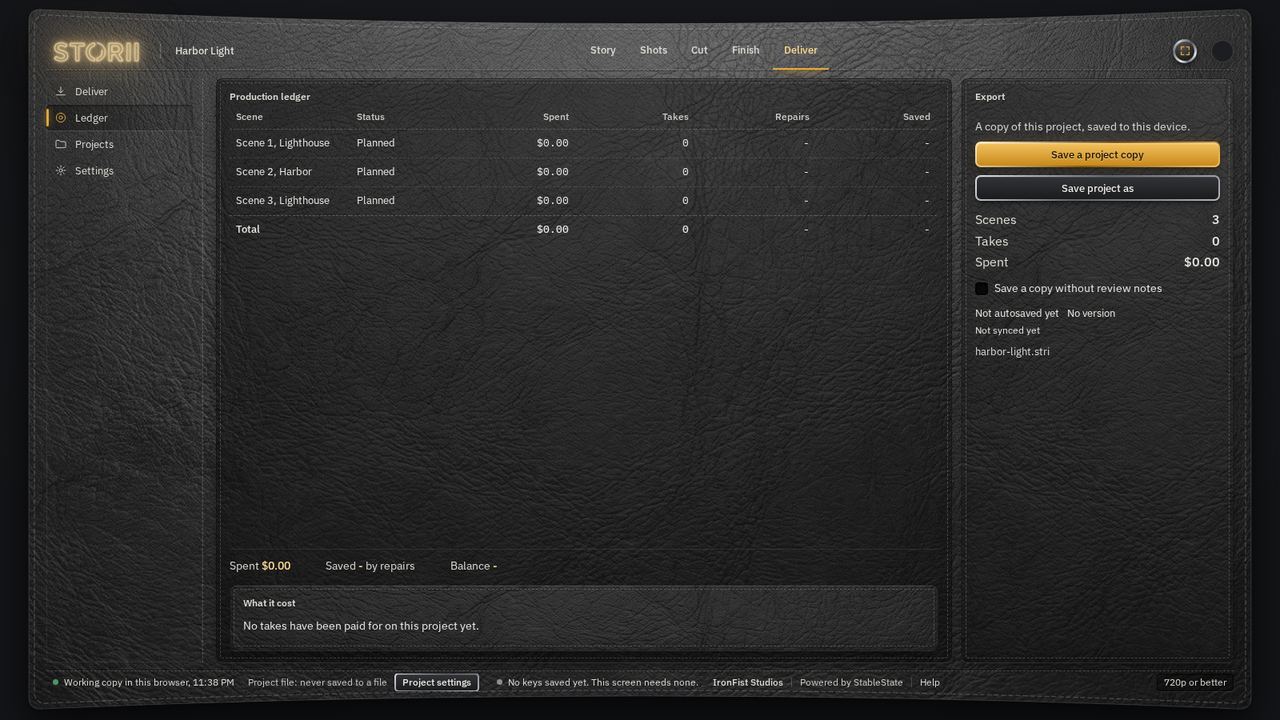
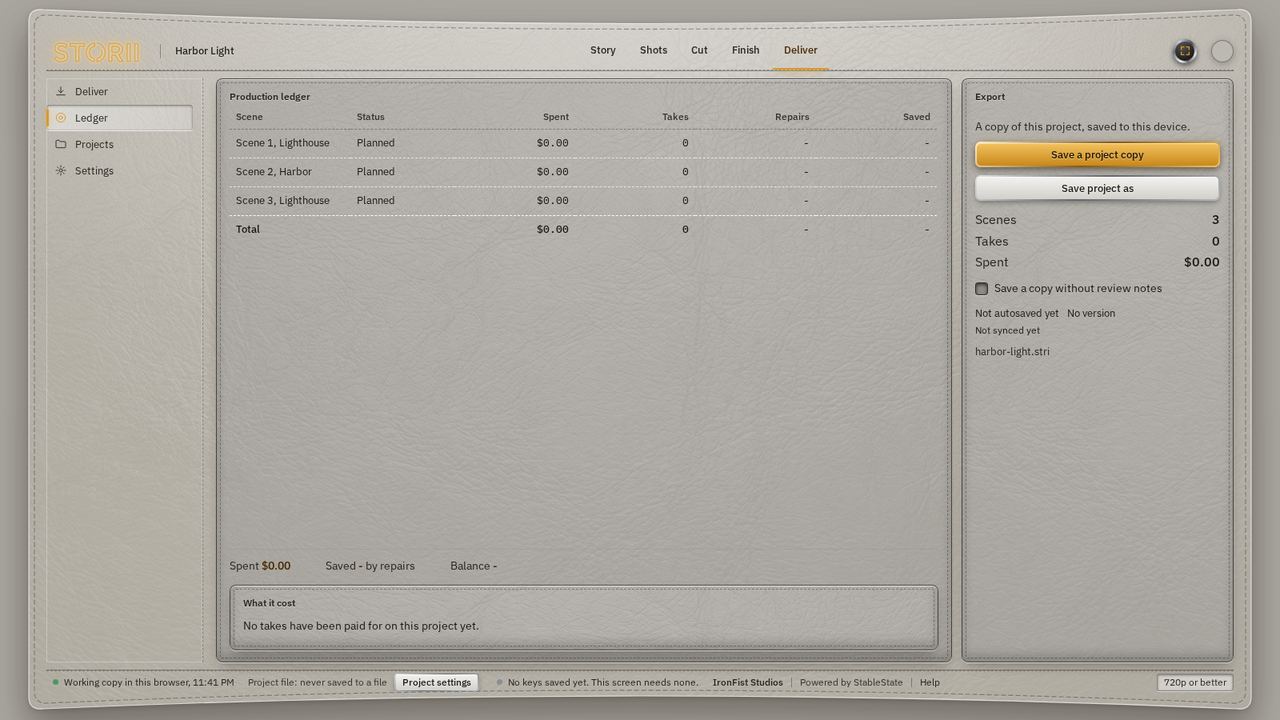 12
- 1Save a project copy and Save project as both write one .stri file named after your project, for example harbor-light.stri, with its clips and audio inside it.
- 2Tick this to leave your review notes out of the copy.
A .stri file goes to your downloads folder, or to the folder you chose, and nowhere else. Together with the .srt subtitle file above, it is what you can save to your device before any generation.
Your saved video and audio travel inside the one .stri file, so there is nothing else to keep beside it. Older saves made as two files (a .stri beside a .stri-media) still open: choose both files together.
On Projects, every project tile and every row under Manage projects has its own Save as: it packages that project, with its clips and audio, from the copy saved on this device and writes the file where you choose, without opening the project or disturbing the one you have open. The top-row Save project as stays for the open project.
Save project as opens your computer's own save window on browsers that have one, so you pick the folder and the name. After that, the saved chip at the bottom of every page reads Save to and your file's name, and pressing it writes the same file again. On browsers without a save window the file goes to your downloads folder and STORII says so.
When you open a project from the Projects page, it lands on Shots if the project has a script, and on Story if it does not. A project you have just created always starts on Story.
Your projects also stay in this browser on this device, so you can close the tab and come back. Clearing this browser's site data removes them, so keep a copy of anything you care about.
Watching on a phone
A phone is for watching, not building. It shows your projects, the progress of what is generating, your cut, your files and your ledger. Writing the script, planning shots, generating, editing the cut and Edit Studio stay on a laptop or tablet, because they need room. Open any of those on a phone and STORII says so and offers Watch the cut and See progress instead.
The row along the bottom of the phone has six buttons: Projects, Progress, Watch, Deliver, Ledger and Settings. A tablet held upright gets the same phone view; a tablet held sideways, or a laptop, gets the full screens.
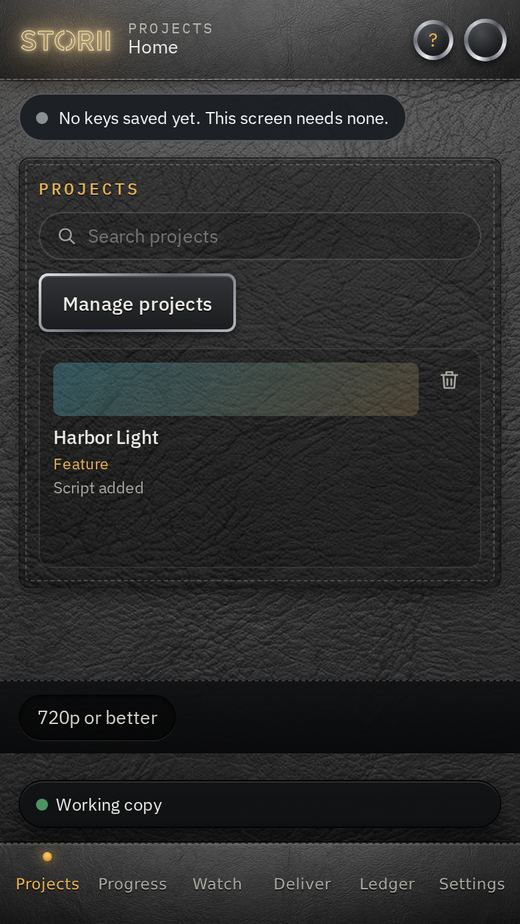
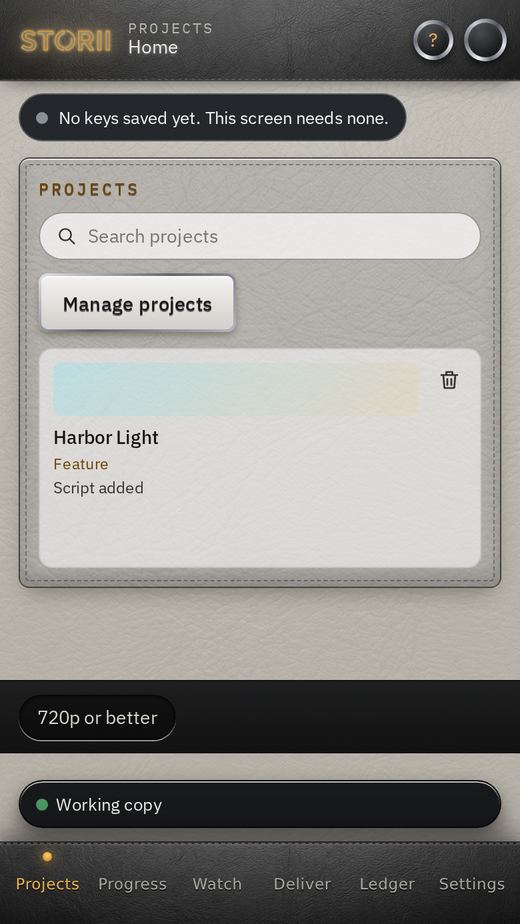 1
- 1The bottom row: Projects, Progress, Watch, Deliver, Ledger, Settings.
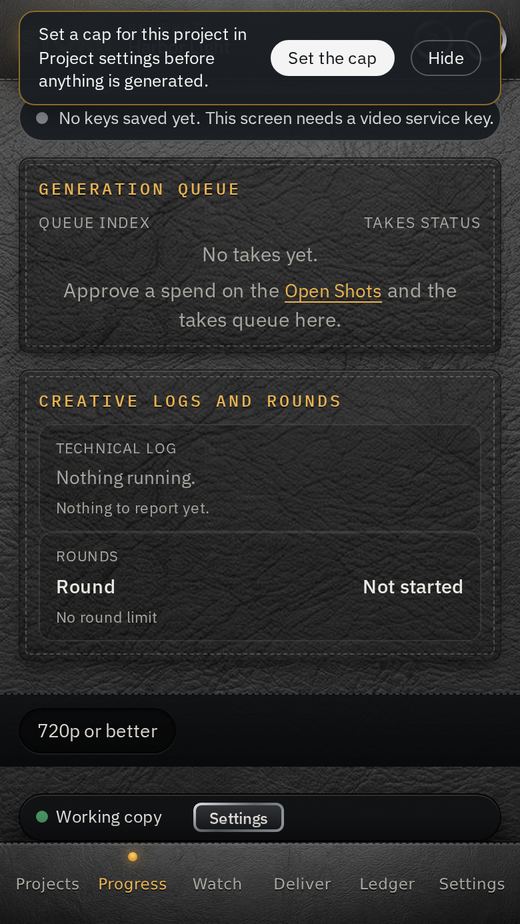
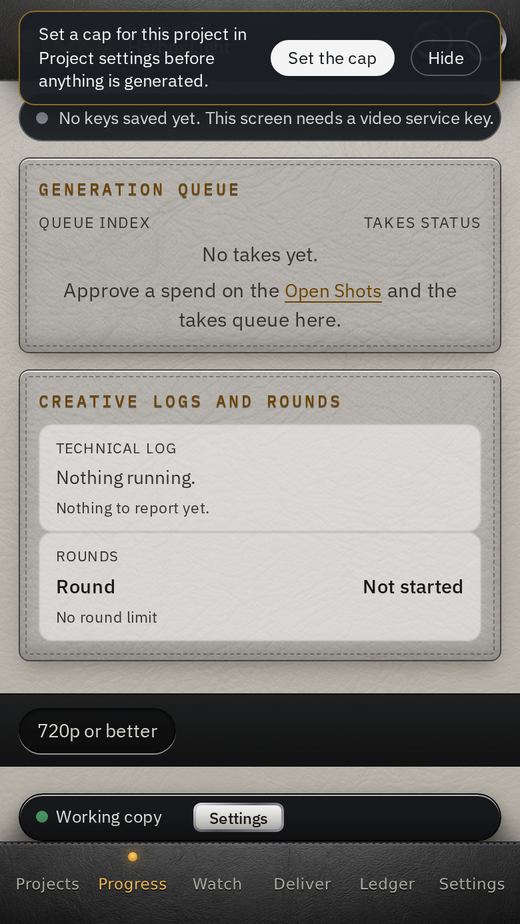 1
- 1Progress shows each take as it queues, generates and lands, with what you have spent.
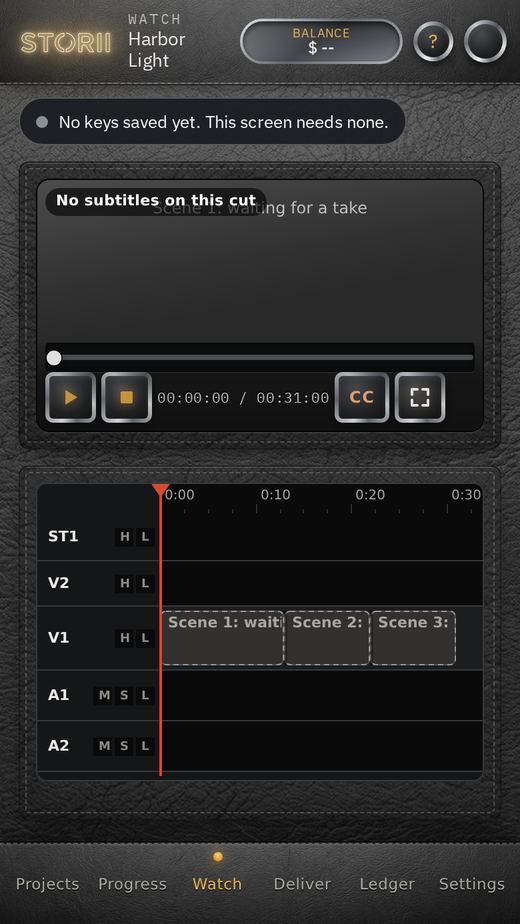
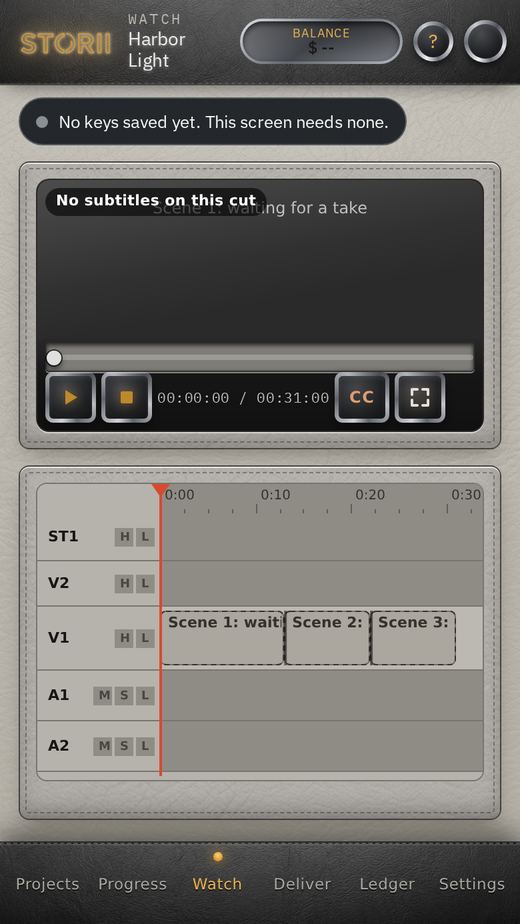 1
- 1Play, stop, scrub and full screen, with the cut.
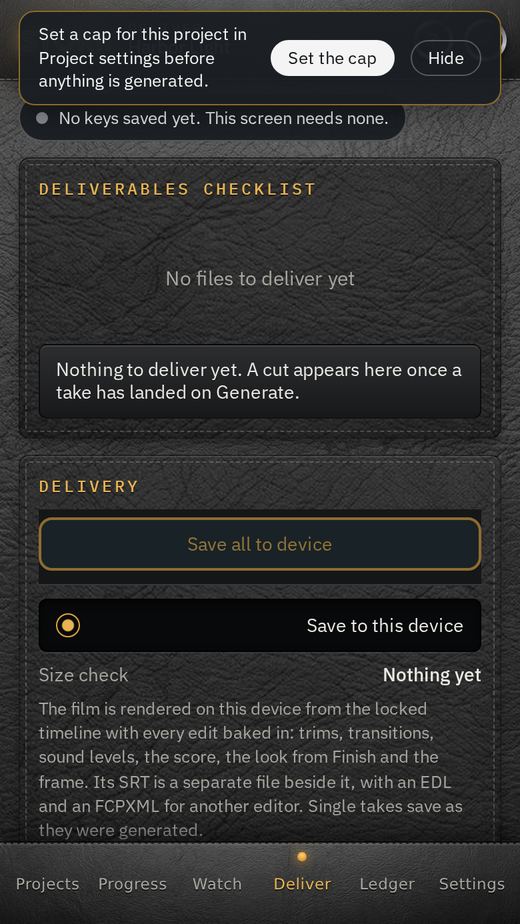
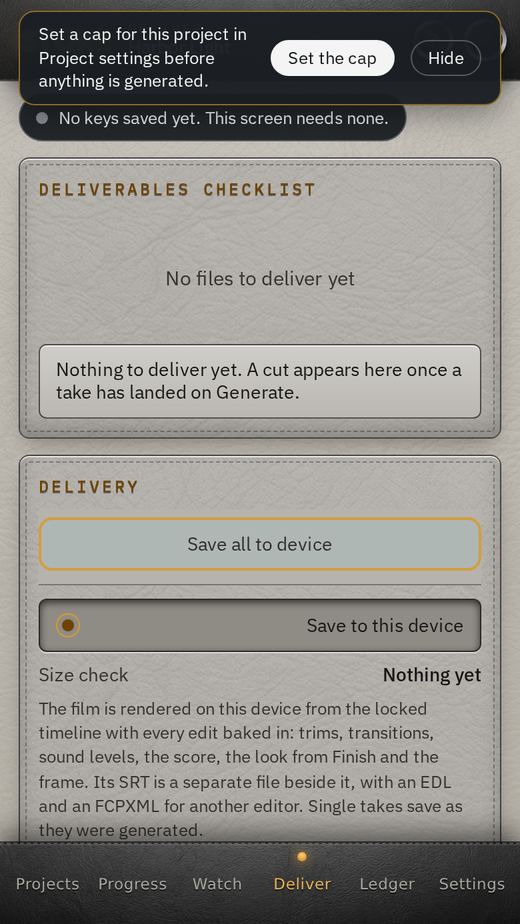 1
- 1Save every finished file to this phone. Each cut keeps its SRT file beside it.
If something needs building or editing, the note on the phone says which screen it belongs to. Carry on at a laptop or a tablet held sideways.
Where next
Stuck on a word or a button? Open Help and FAQ for short answers. To see what STORII keeps and what stays on your device, read Privacy. To start your own project, go back to STORII.